John Holscher has been working on his new old SS23 since 3/18 including constructing a beautiful hatch cover. A brief review of his many projects is below, followed by detailed descriptions and pictures of the sliding hatch cover project. He found Bud Mcintosh’s guide to hatch rebuilding (an excerpt from his book published in Wooden Boat magazine) extremely helpful..
Here is his story:
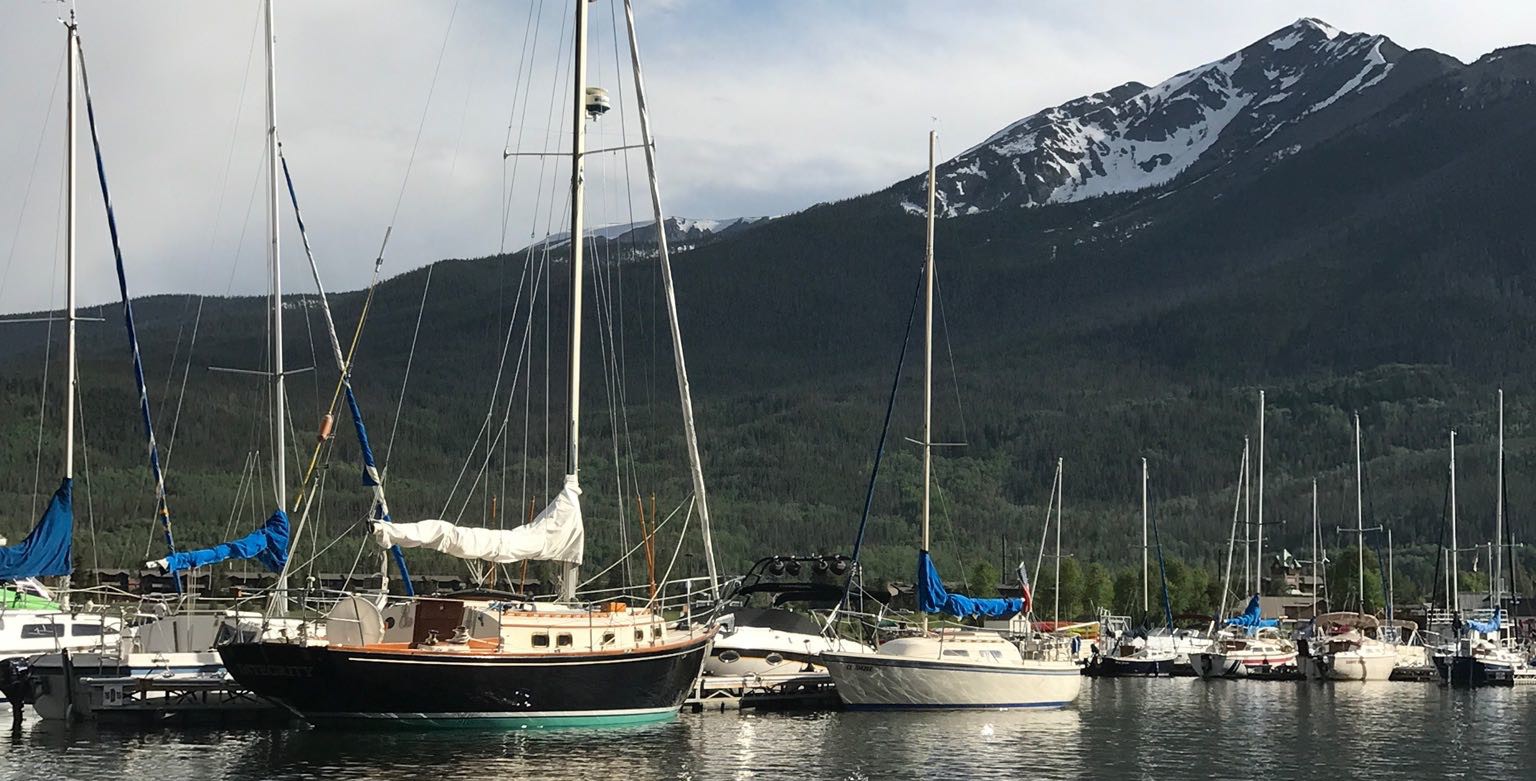
I purchased this boat back in March of 2018 she was built in 1972 and was in good physical condition but in need of lots of TLC and some upgrading. I sailed her in the summer of 2018, missed last year’s season due to a badly timed hernia surgery and am looking forward to getting her back in the water this season in a big way!
Thus far I have done a thorough reconditioning of all of the bright work, made a new Herreshoff style tiller, replaced the standing rigging, converted from roller furling boom to 2 line jiffy reefing and lead all control lines to the cockpit, replaced the mainsheet traveler with a Harken 3 part purchase system and a double ended main sheet, painted the inside of the hull as well as the lazarette and bulkhead in the cockpit, painted deck and cabin top, and most recently completed a new mahogany sliding hatch cover. Some of the projects mentioned I’ve posted on the forum.
The Sliding Hatch Cover Project
Making a mahogany companionway sliding hatch cover Winter 2019-2020I must admit, I never liked the original fiberglass hatch cover, it jammed half the time when attempting to slide it open or closed and it was just downright unattractive! So, considering my desire to imbue Sailaway with ever more of the wooden boat spirit I decided that a mahogany sliding hatch cover for the companionway would be my next project.

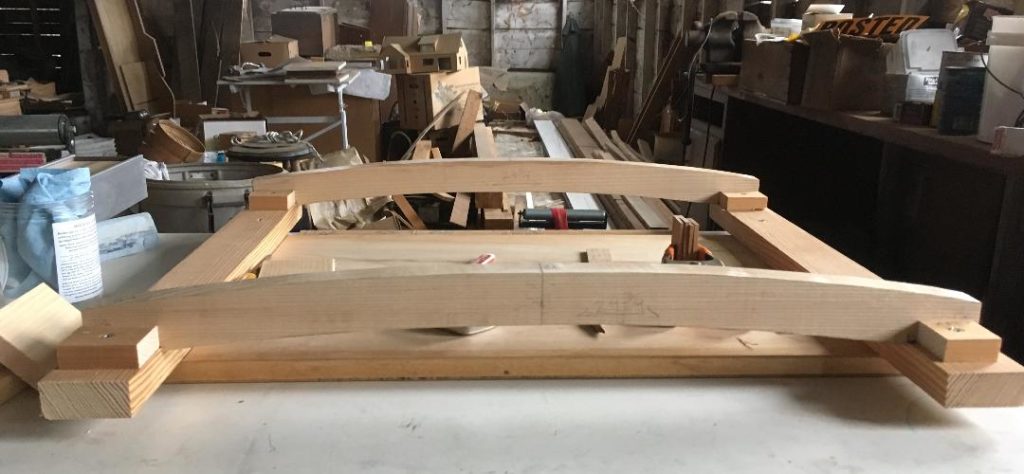
Although I understood the basic idea of how to make one, I decided to check out how the pros did it which led me to Bud McIntosh’s book ‘How to Build a Wooden Boat’. In his book he describes in detail, accompanied by wonderful illustrations by Sam Manning, the do-s and don’t-s of the process. I also found some good information on the subject in Robert M. Steward’s book “Boatbuilding Manual”. Then I scoured the internet forphotographs of classic wooden boats to get a look at some of the variations on the theme on boats that had been built.Thus, inspired I set out on my quest to create what Bud referred to in his book as “a tricky bit of furniture”. First step would be to make a template to match the crown of the cabin doors and existing “dam” at the forward end of the companionway opening which would determine the crown of the hatch beams. The existing beams did not quite measure up in that regard. After rummaging through the stash of wood that I’ve amassed over the years from various projects I found a nice piece of quarter sawn white oak I thought would fit the bill. And so it began. The hatch cover has 1/8” x 1” brass guide strips attached to each end of the beams which extend beyond the beam ends and run in a ¼” groove cut into the rails. Once the beams were cut out and their lower edges chamfered, I then made a jig to hold the beams in the position relative to each other that they would be in once on the boat.
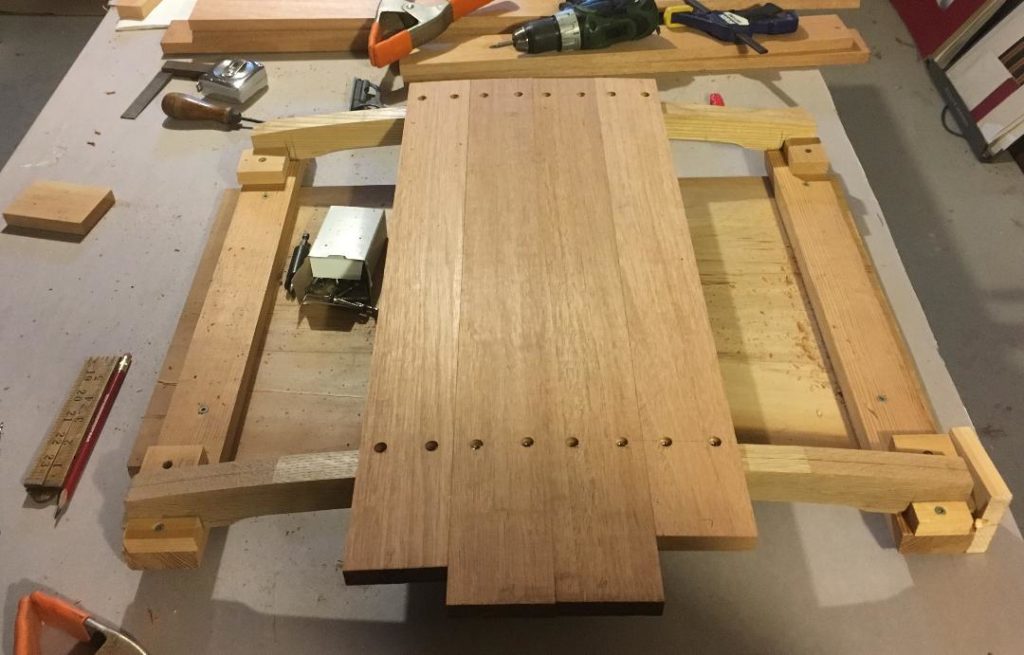
- Next step was to decide how many planks. To allow for the crown of the cover I decided on 10- 2 5/8” planks 5/8” thick for the 27” wide cover. This would require only a slight bevel planed on one edge of each plank to get a good fit. I picked up two 7-inch x 8-foot pieces of beautiful 4/4 South American Mahogany at General Woodcraft in New London Connecticut for the planks and trim pieces.
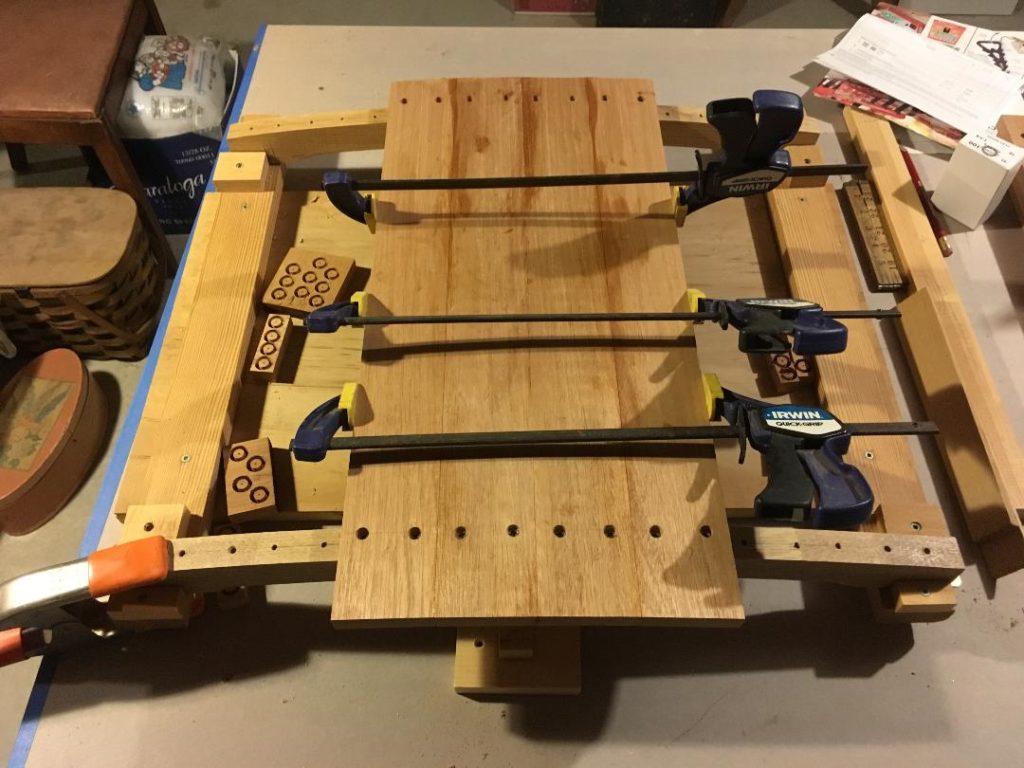
- Once all that was decided I cut the plank stock to length + 3”, planed to 5/8” thick and ripped to 2 5/8” wide. Planks 1 and 10 were cut a bit wider than the others to allow for the angled cut on the outboard edges to align with the outboard face of the rails. Then one by one dry fit and screwed them to the beams with #10 stainless steel screws, countersunk and counterbored for bungs cut from extra planking stock.Once all the planks were screwed in place, I cut off the plank ends about ¼” longer than the finished length on each end.
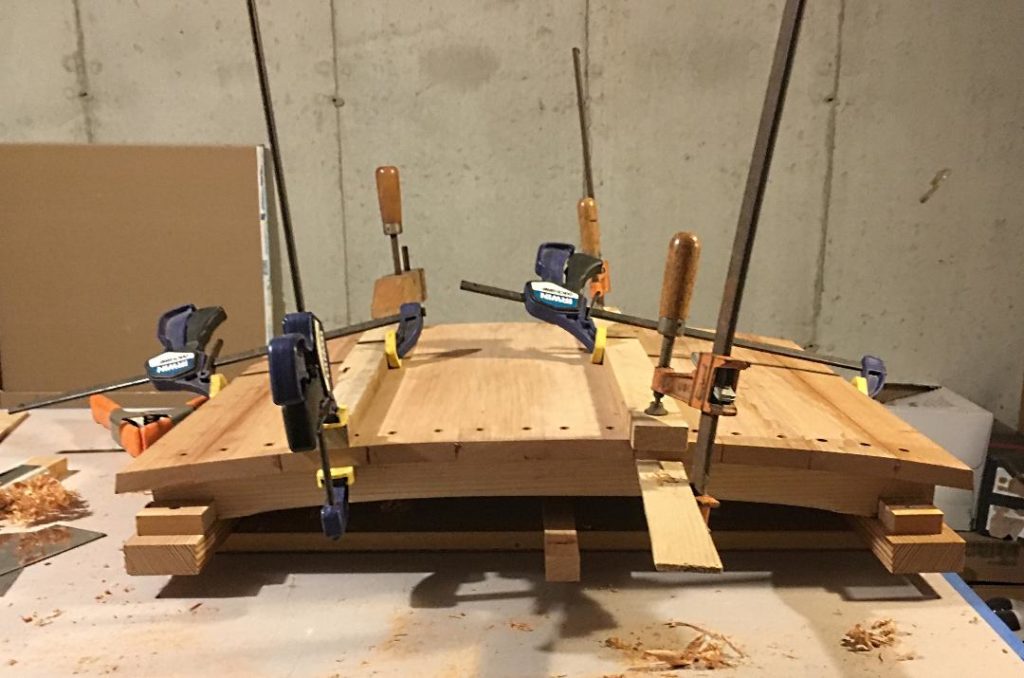
At this point I brought the cover out to the boat, took a deep breath and dropped it onto the rails and slid it back and forth. It fit! I could breathe again. I then marked the angle to cut the outer edge of the first and last planks towhich the side trim pieces would be attached as well as determined the projection of the side trim pieces below the first and last planks.With all that done I numbered all the planks 1-port side to 10-starboard side and removed all but one of the center planks (#5 left of centerline) from the beams and prepared for re-assembling with “Thixo” epoxy on the seams.I then checked the fit of plank #6 against #5, applied Thixo to the edge abutting #5, screwed it to the beams thenclamped between the beams to plank#5. The next day I removed the clamps. Checked the fit of planks 4 and 7, then repeated the screw, glue and clamp sequence as before. Then it was just a matter of repeating that process until I got to planks 1 and 10. A little creative clamping may be necessary as you work away from the centerlinedepending on what clamps you’ve got to work with.
- Next, I made some bungs to fill all those screw holes using scraps left from the plank stock using a plug cutter. Iused scraps from the individual planks for the closest grain and color match. Once cut I set them in varnish and let them dry overnight.

Now it’s time for the end and side trim pieces, I did the ends first. I made a rough template of ¼” plywood to use in selecting a piece of stock whose grain would follow the curvature of the cover. Once selected I planed thestock to ½”, held it up to the aft end of the cover and traced the shape on the stock, then did the same at the forward end. Over to the bandsaw we go and cut out the two pieces. I cut them about 1/16” oversized to be sure I had enough for trimming flush with the upper and lower faces of the planks. After clamping them in place with 2 pipe clamps I drilled the holes for the screws as with the planks. After drilling all the holes I took the twopieces over to the bench and roughed out the radius on the upper and lower edges then cut the ends to be flush with the edge of the first and last planks, glued and screwed them in place and popped in the bungs.
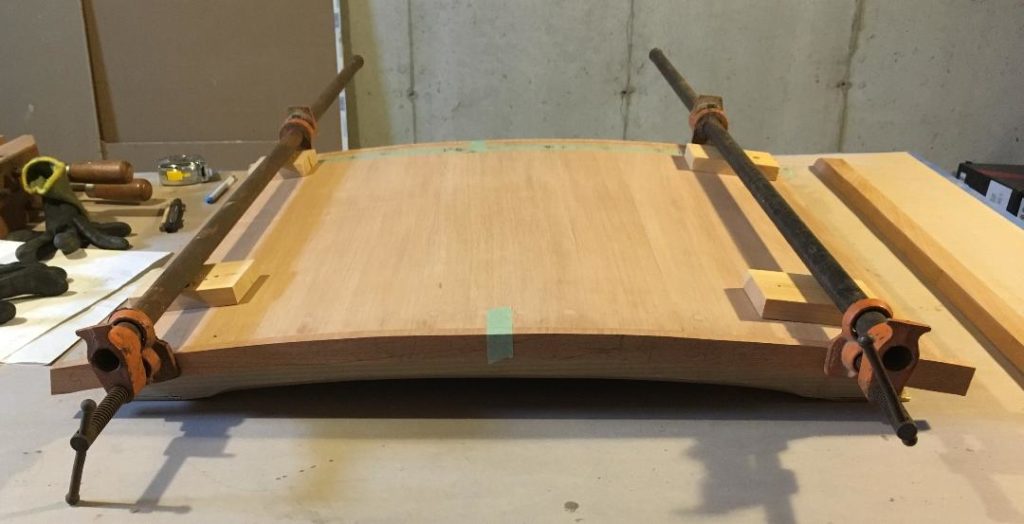
The last bit of construction is the side trim pieces which extend to the outer face of the fore and aft end trim pieces. The tops are beveled to follow the arc of the top planks, both bottom edges are rounded, and the ends arecut to match the profile of the end trim pieces and then angled back to the bottom edge. Once all the shaping is done, it’s time to glue, screw and plug the screw holes. Another trip to the boat to see how it all worked out.
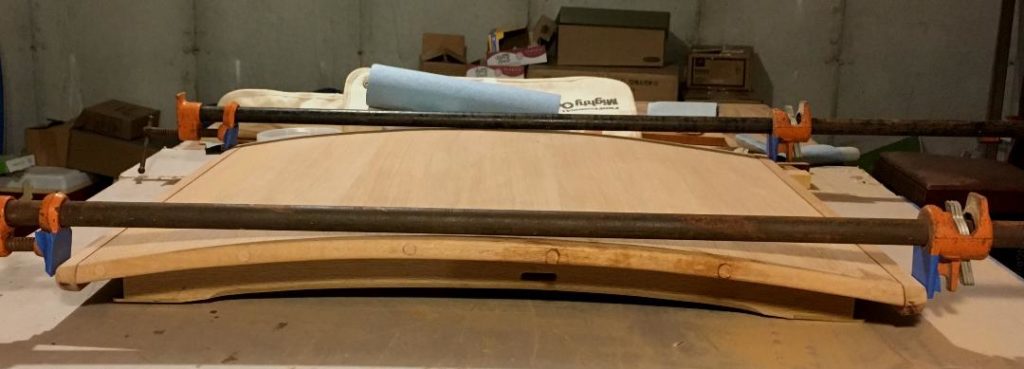
Looked okay so now it’s time to get out the block plane, cabinet scraper and sandpaper and fair it up. After making lots of shavings and sanding dust it’s ready for varnishing. I’ve been using Z-Spar Flagship #2015 varnish on all the brightwork on the boat and like the finish a lot. I thinned the first coat 50/50 with turpentine topenetrate deep below the surface, applying more as it soaked in then let it dry for a few days. Then more sanding and the 2nd coat I thinned with Pettit’s brushing thinner about 25%. More sanding then 3rd coat with only just enough thinner to keep a “wet edge”.Note, for a very in-depth treatise on varnishing check out Rebecca Wittman’s excellent book “The Brightwork Companion”. 12 coats later I declared the project done.
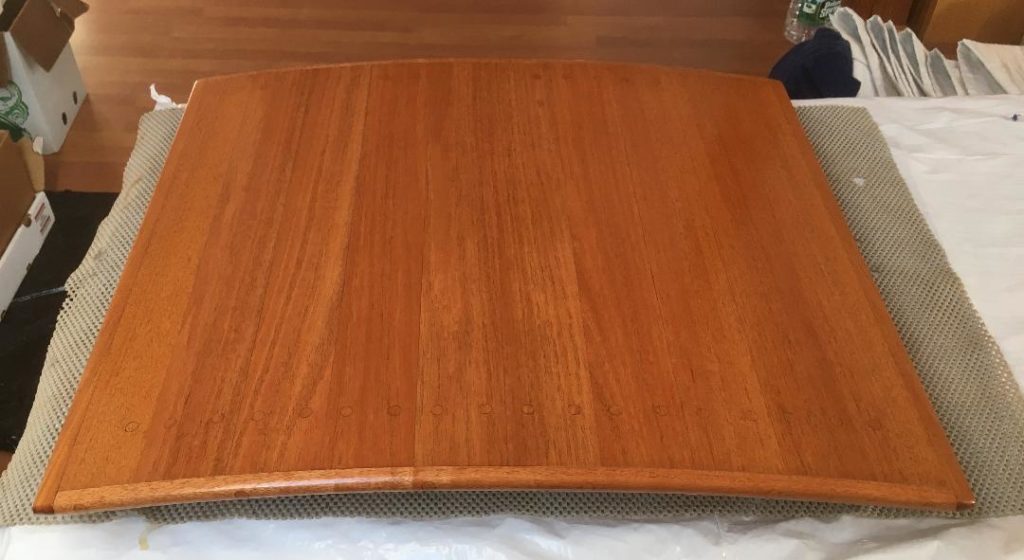
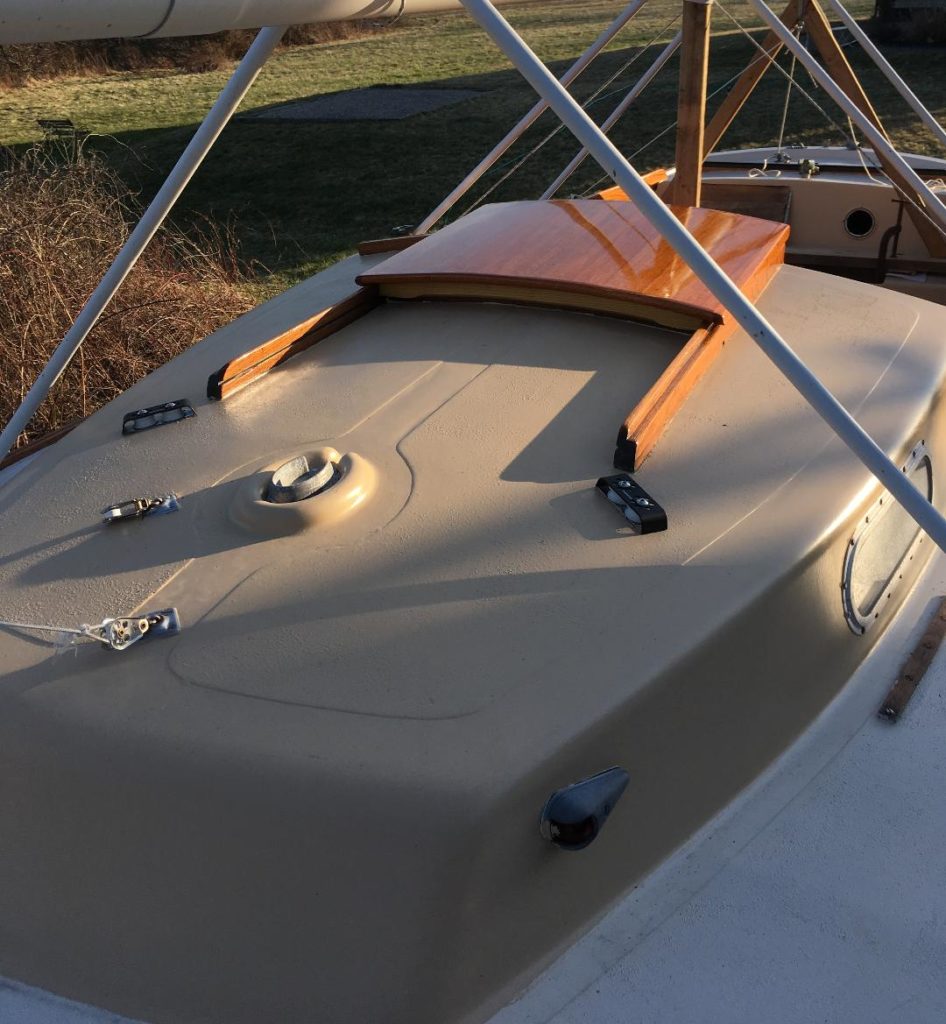
Oh, one last thing was to cut a notch on the port and starboard rails a little wider than the width of the beams from the top of the rail down to the groove 2” aft of the damn to allow for lifting the cover off the rails.

- And here she is!!!