BUILDING A WOODEN SPINNAKER POLE
by Greg Raleigh
I chose to build my own spinnaker pole, why, because I just wanted to see if I could do it. Since I didn’t build the kayak/canoe/dingy I had been planning, I had a large amount of long, clear, western red cedar boards that needed a new purpose. Besides, winters in Wisconsin are long and I needed a winter project to keep myself sane. I apolgize for the lack of pictures but I had not planned on writing up the building process.
To conserve weight, I opted for a hollow design that consisted of eight staves epoxied together. Each stave was notched on one face to accept the corner of the adjacent stave (see above picture). This provided a large amount of surface area for gluing and created a rough tubular shape. The groove of each stave was slathered with epoxy and positioned in preparation for clamping. The pole was wrapped with wax paper to keep the eight hose clamps from sticking, and the clamps were tightened. When the glue was dry, I fitted and glued an eight inch oak plug in each end. This provided additional strength for securing the pole ends and for the eye straps of the pole up and pole down bridles.
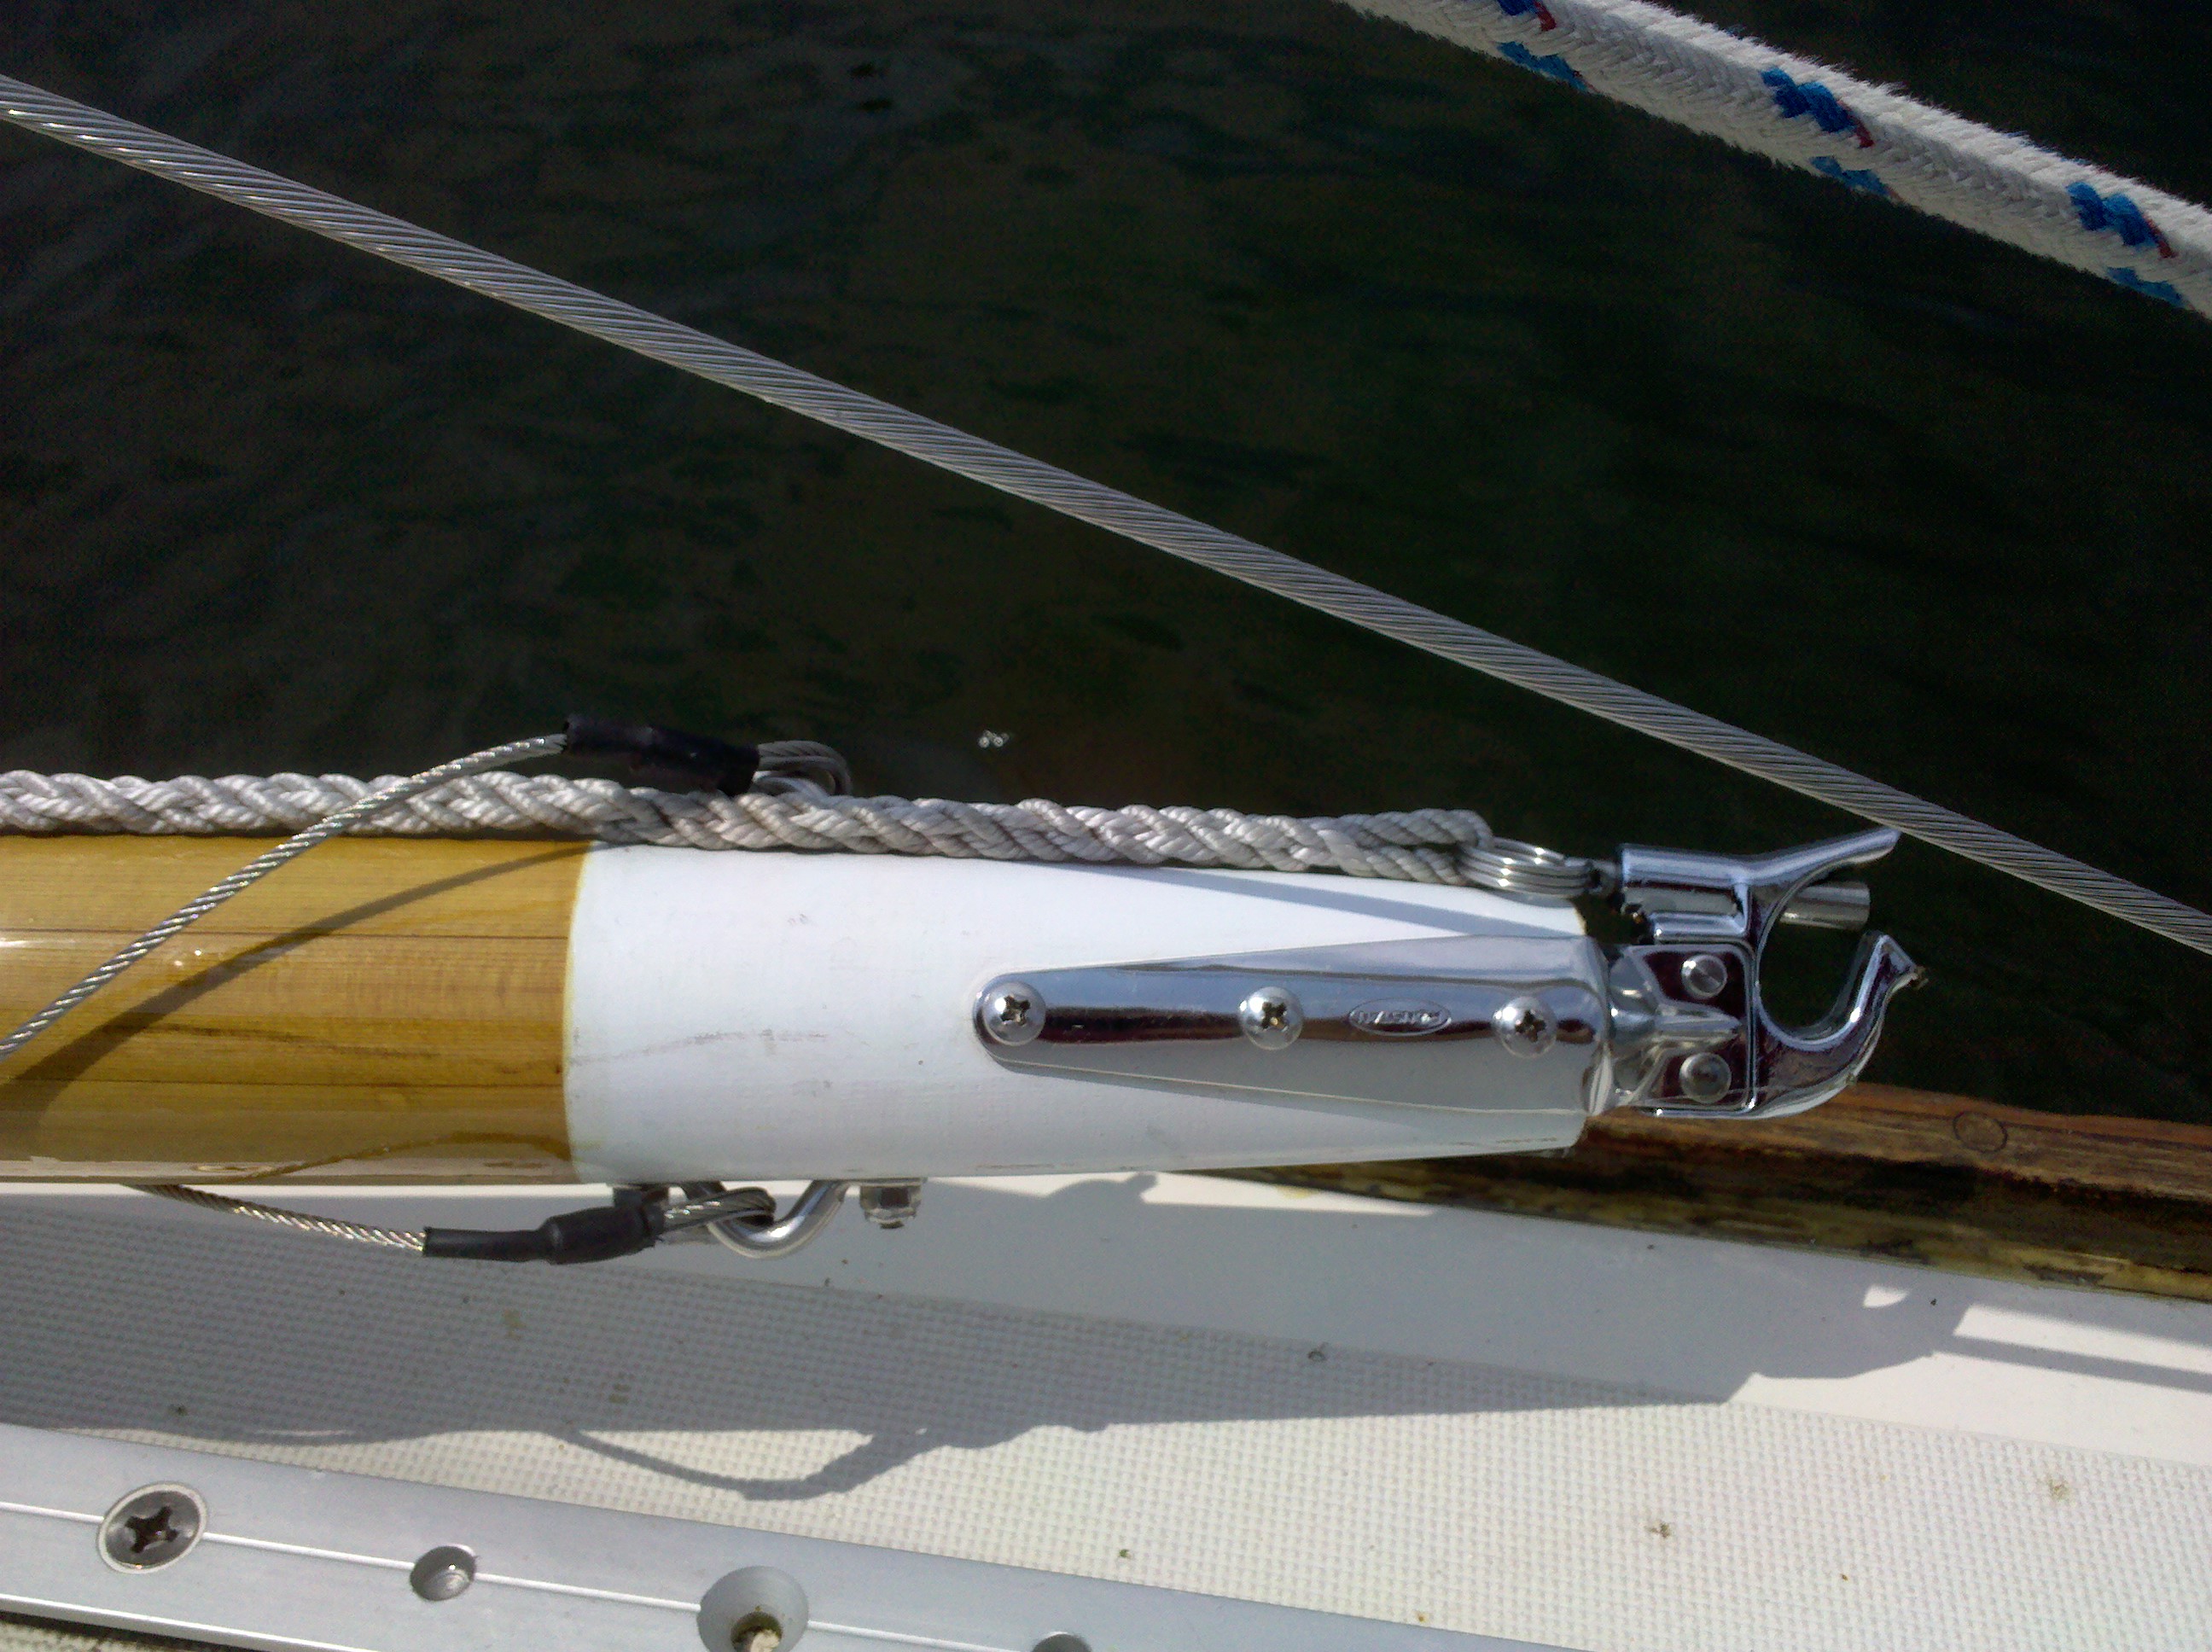
I wanted the final diameter to be two inches, tapering to 1 ½ inches on the ends so it would fit the two, 1 ½ inch, Rig-Rite, self-latching, stainless steel pole ends I had already obtained. The length needed to be less than or equal to the “J” length. I really didn’t know what the official “J” length should be as I had seen it listed at various lengths. I found a line drawing with 7 ft 6 in, FORESPAR lists it as 7 ft 8 in, and an original spec sheet 7 ft 10 ¼ in. I opted for 7 feet 8 inches, I figured that I can always shorten it by two inches, but adding length is not possible.
The key to this project was having a lathe to make the spar evenly round, like most people I didn’t have a lathe with an eight-foot bed. However, I did have a ShopSmith multipurpose tool. One of its functions is that of a lathe, and it has a removable tail stock. Now all I needed to do was somehow mount the tailstock the appropriate distance away from the headstock and on center. I clamped the tailstock in my workbench vise at the right height, but then the question became how to tie the ShopSmith and the workbench together. A 2×6 wedged between the end of the ShopSmith and the front leg of the bench and bound together with a large ratcheting tie-down trucker’s band seemed to do the trick. Before turning, I knocked off the ridges and brought the spar close to round with a hand plane. With a jury-rigged lathe, turning had to be done on the lowest speed and cuts needed to be light. It took some time to turn and sand, but it did work. I suppose that I could have completed the rounding process with a hand plane, however the lathe concept seemed more accurate. Maybe it’s the Tim Taylor in me, but every now and then I need to operate power tools or visit the local hardware store.
Western red cedar is light but also fairly soft, so I applied two coats of penetrating epoxy hoping to make it a bit more durable. Only time will tell if it was successful. That was followed by eight coats of schooner varnish. The ends were painted white so they would be easier to see in the evening. I also remembered seeing a similar spar on a boat at Mystic Seaport and thought it added a distinctive, traditional look to the pole.
The pole up and pole down bridles are made of stainless wire with a round stainless steel utility ring in the middle. The end of the wires are wrapped around thimbles, swaged in place, and finished with shrink wrap. The bridles attach to the pole with eye straps that are positioned opposite each other so they can be thru bolted for additional strength. A three strand line with eye splices on both ends serves the pole release mecanism.
The pole is currently stored on two hangers I fashioned from high-density polyethylene. They fit over the stations and the pole is secured with bungie cords. Initially, I fashioned the pole hangers out of oak, but they quickly deteriorated and were replaced. The high-density polyethylene is showing no wear after several seasons.

I’ve only used the pole a couple of times in relatively light winds, less than 12 knots. It’s light as a toothpick. Its strength is no longer in question. It has been bounced around a few times and I have had to repair a few minor dings. Every other year I apply another coat of varnish to maintain its looks. I have received several compliments on the pole and how it makes the boat look “salty.”
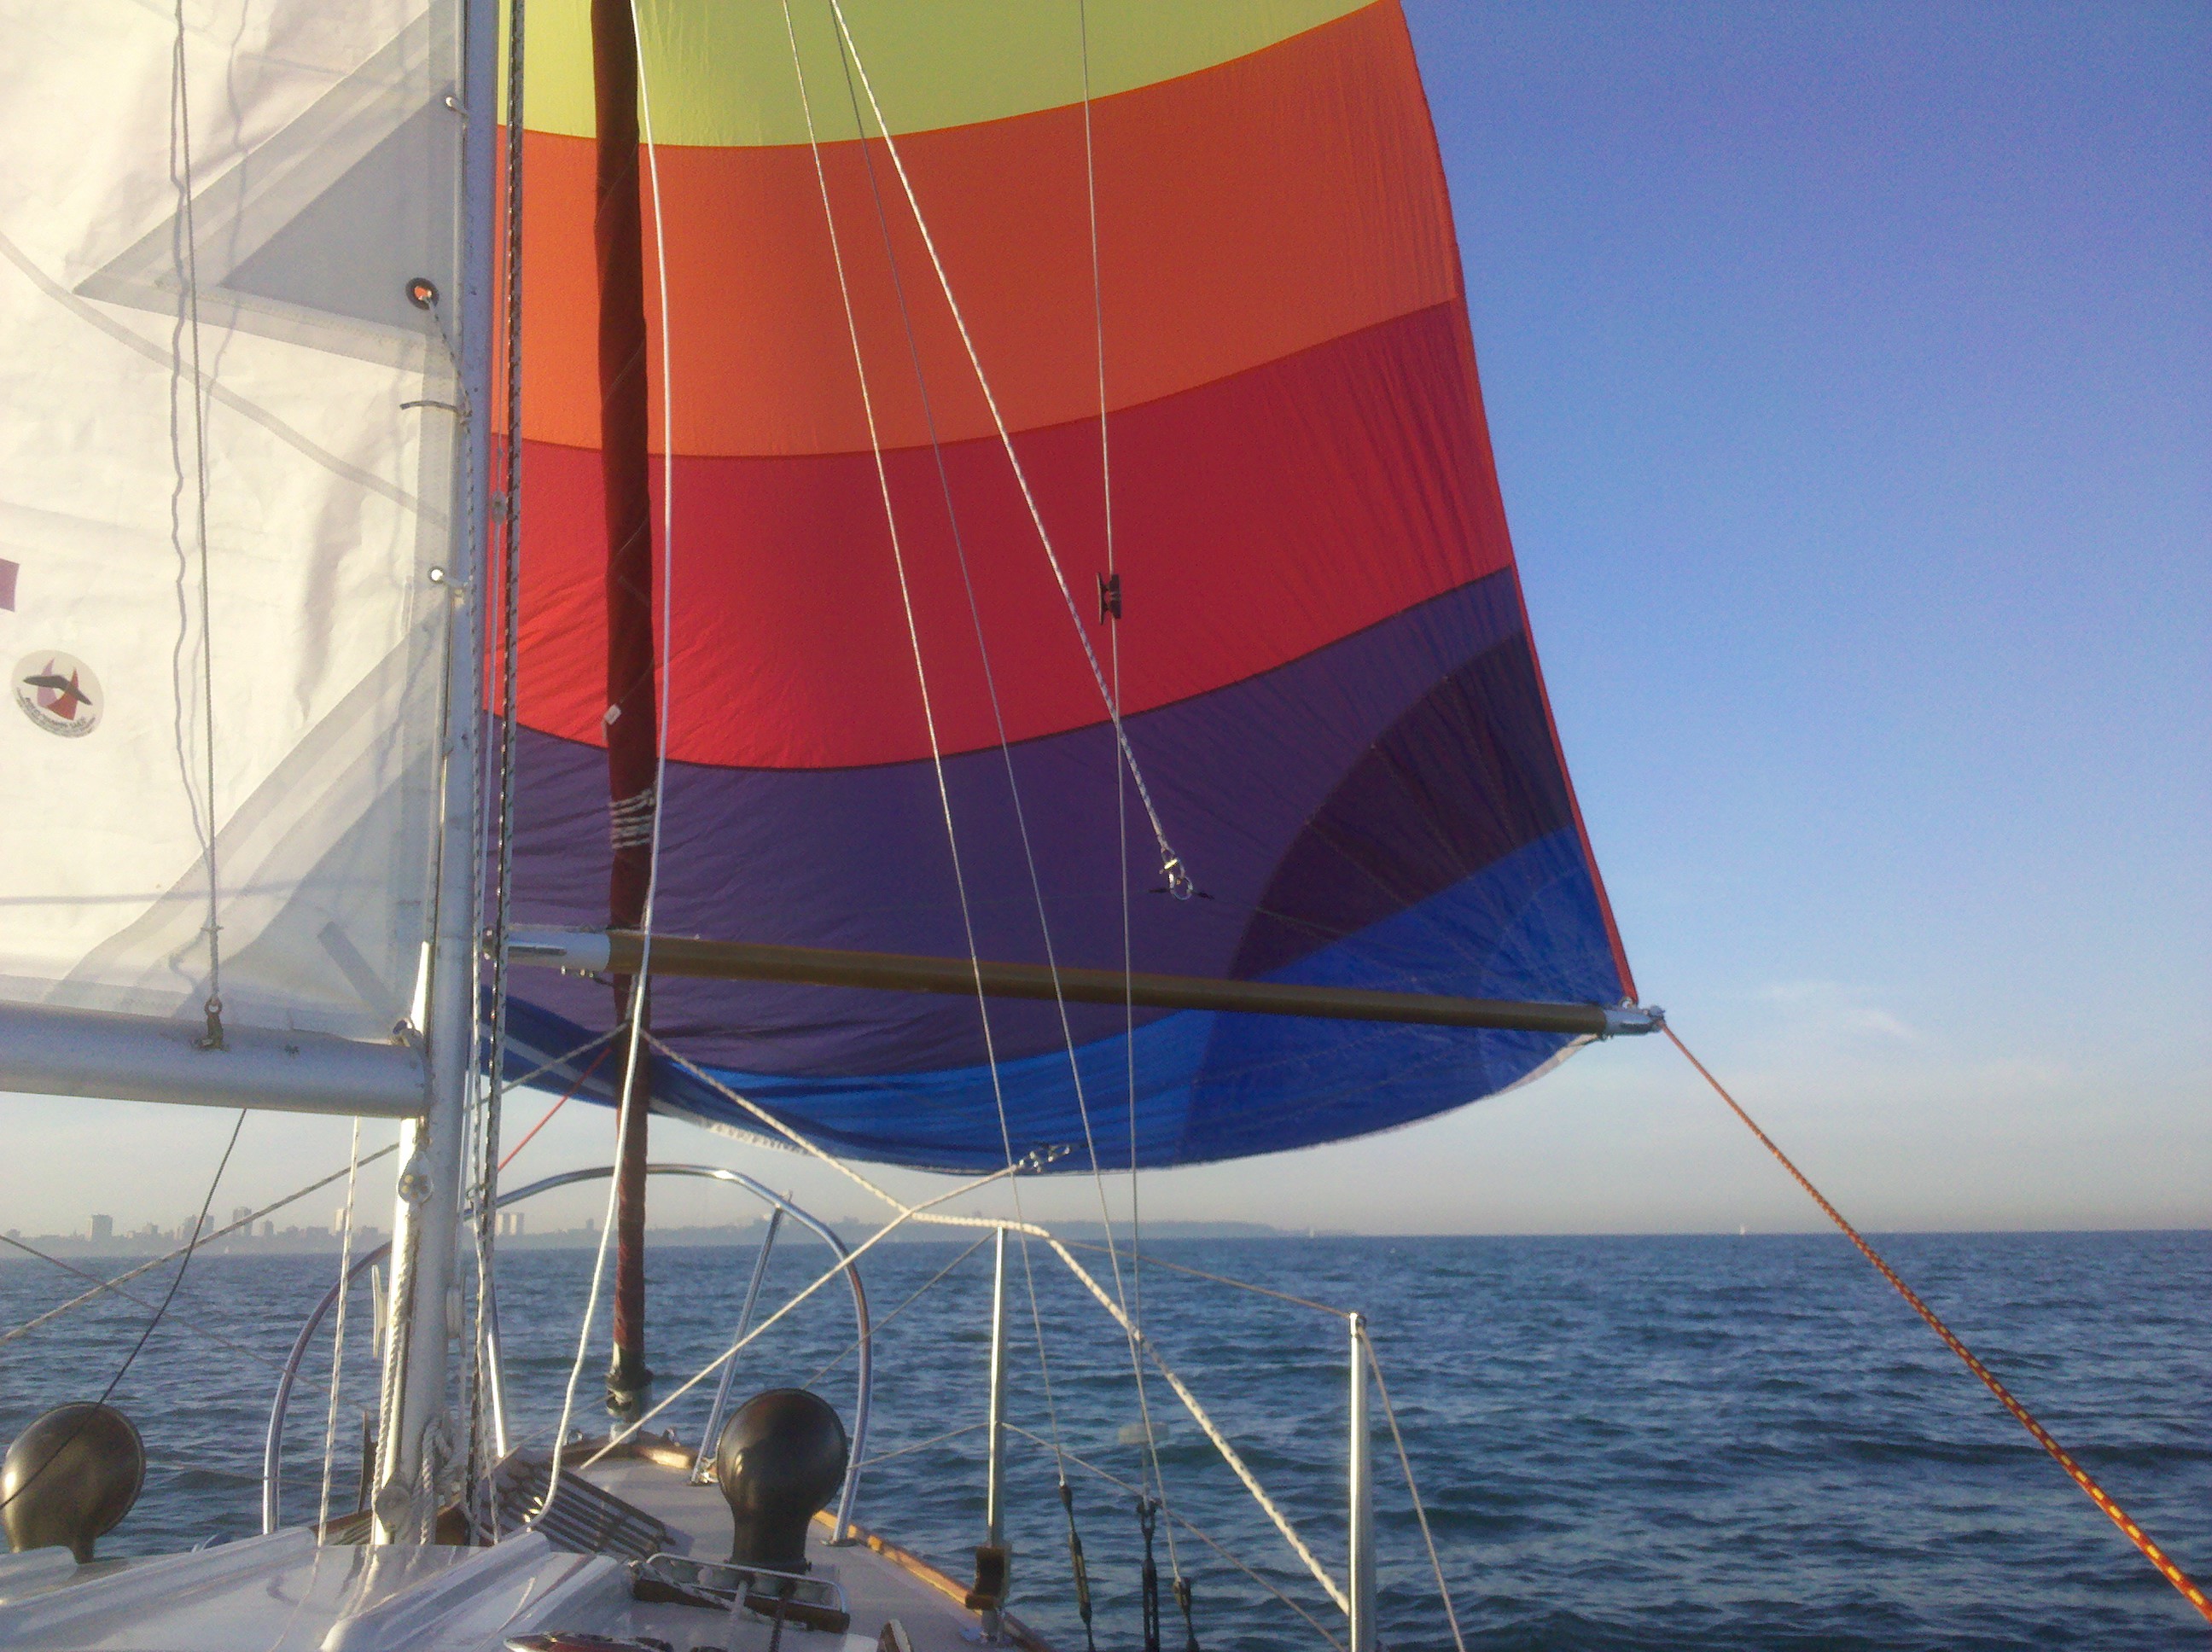
Pole in use flying my rainbow spinnaker
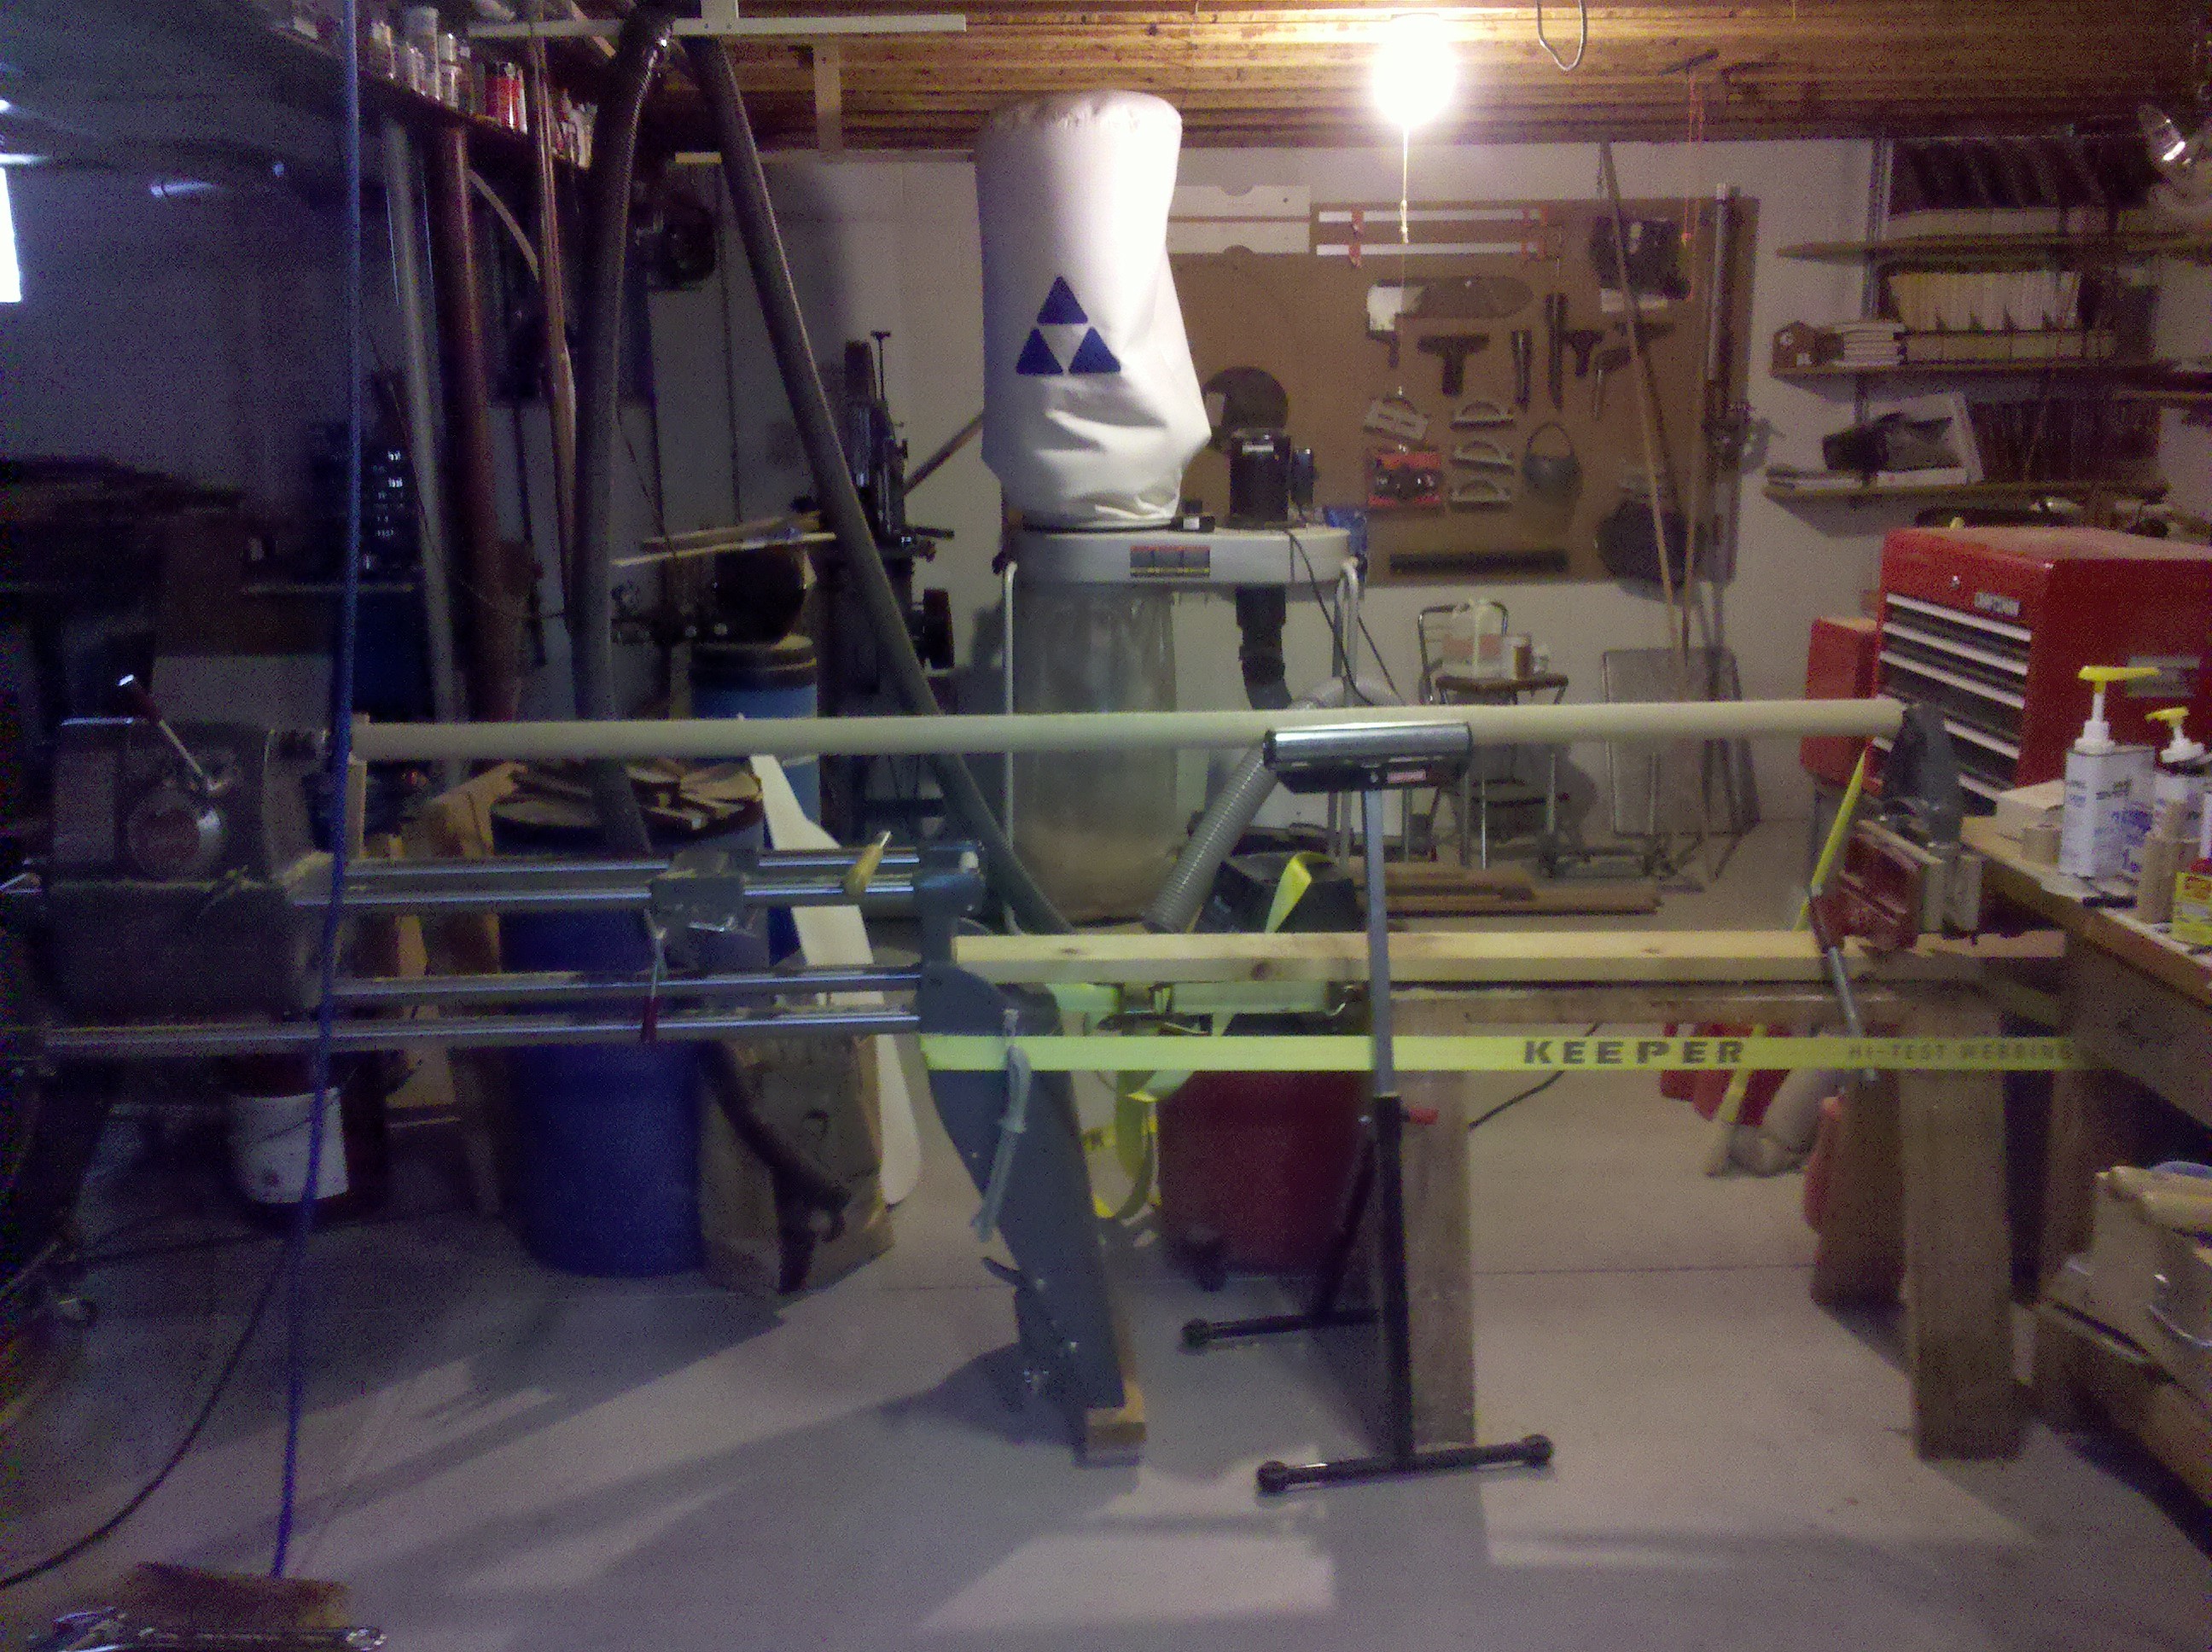
ShopSmith turning set-up
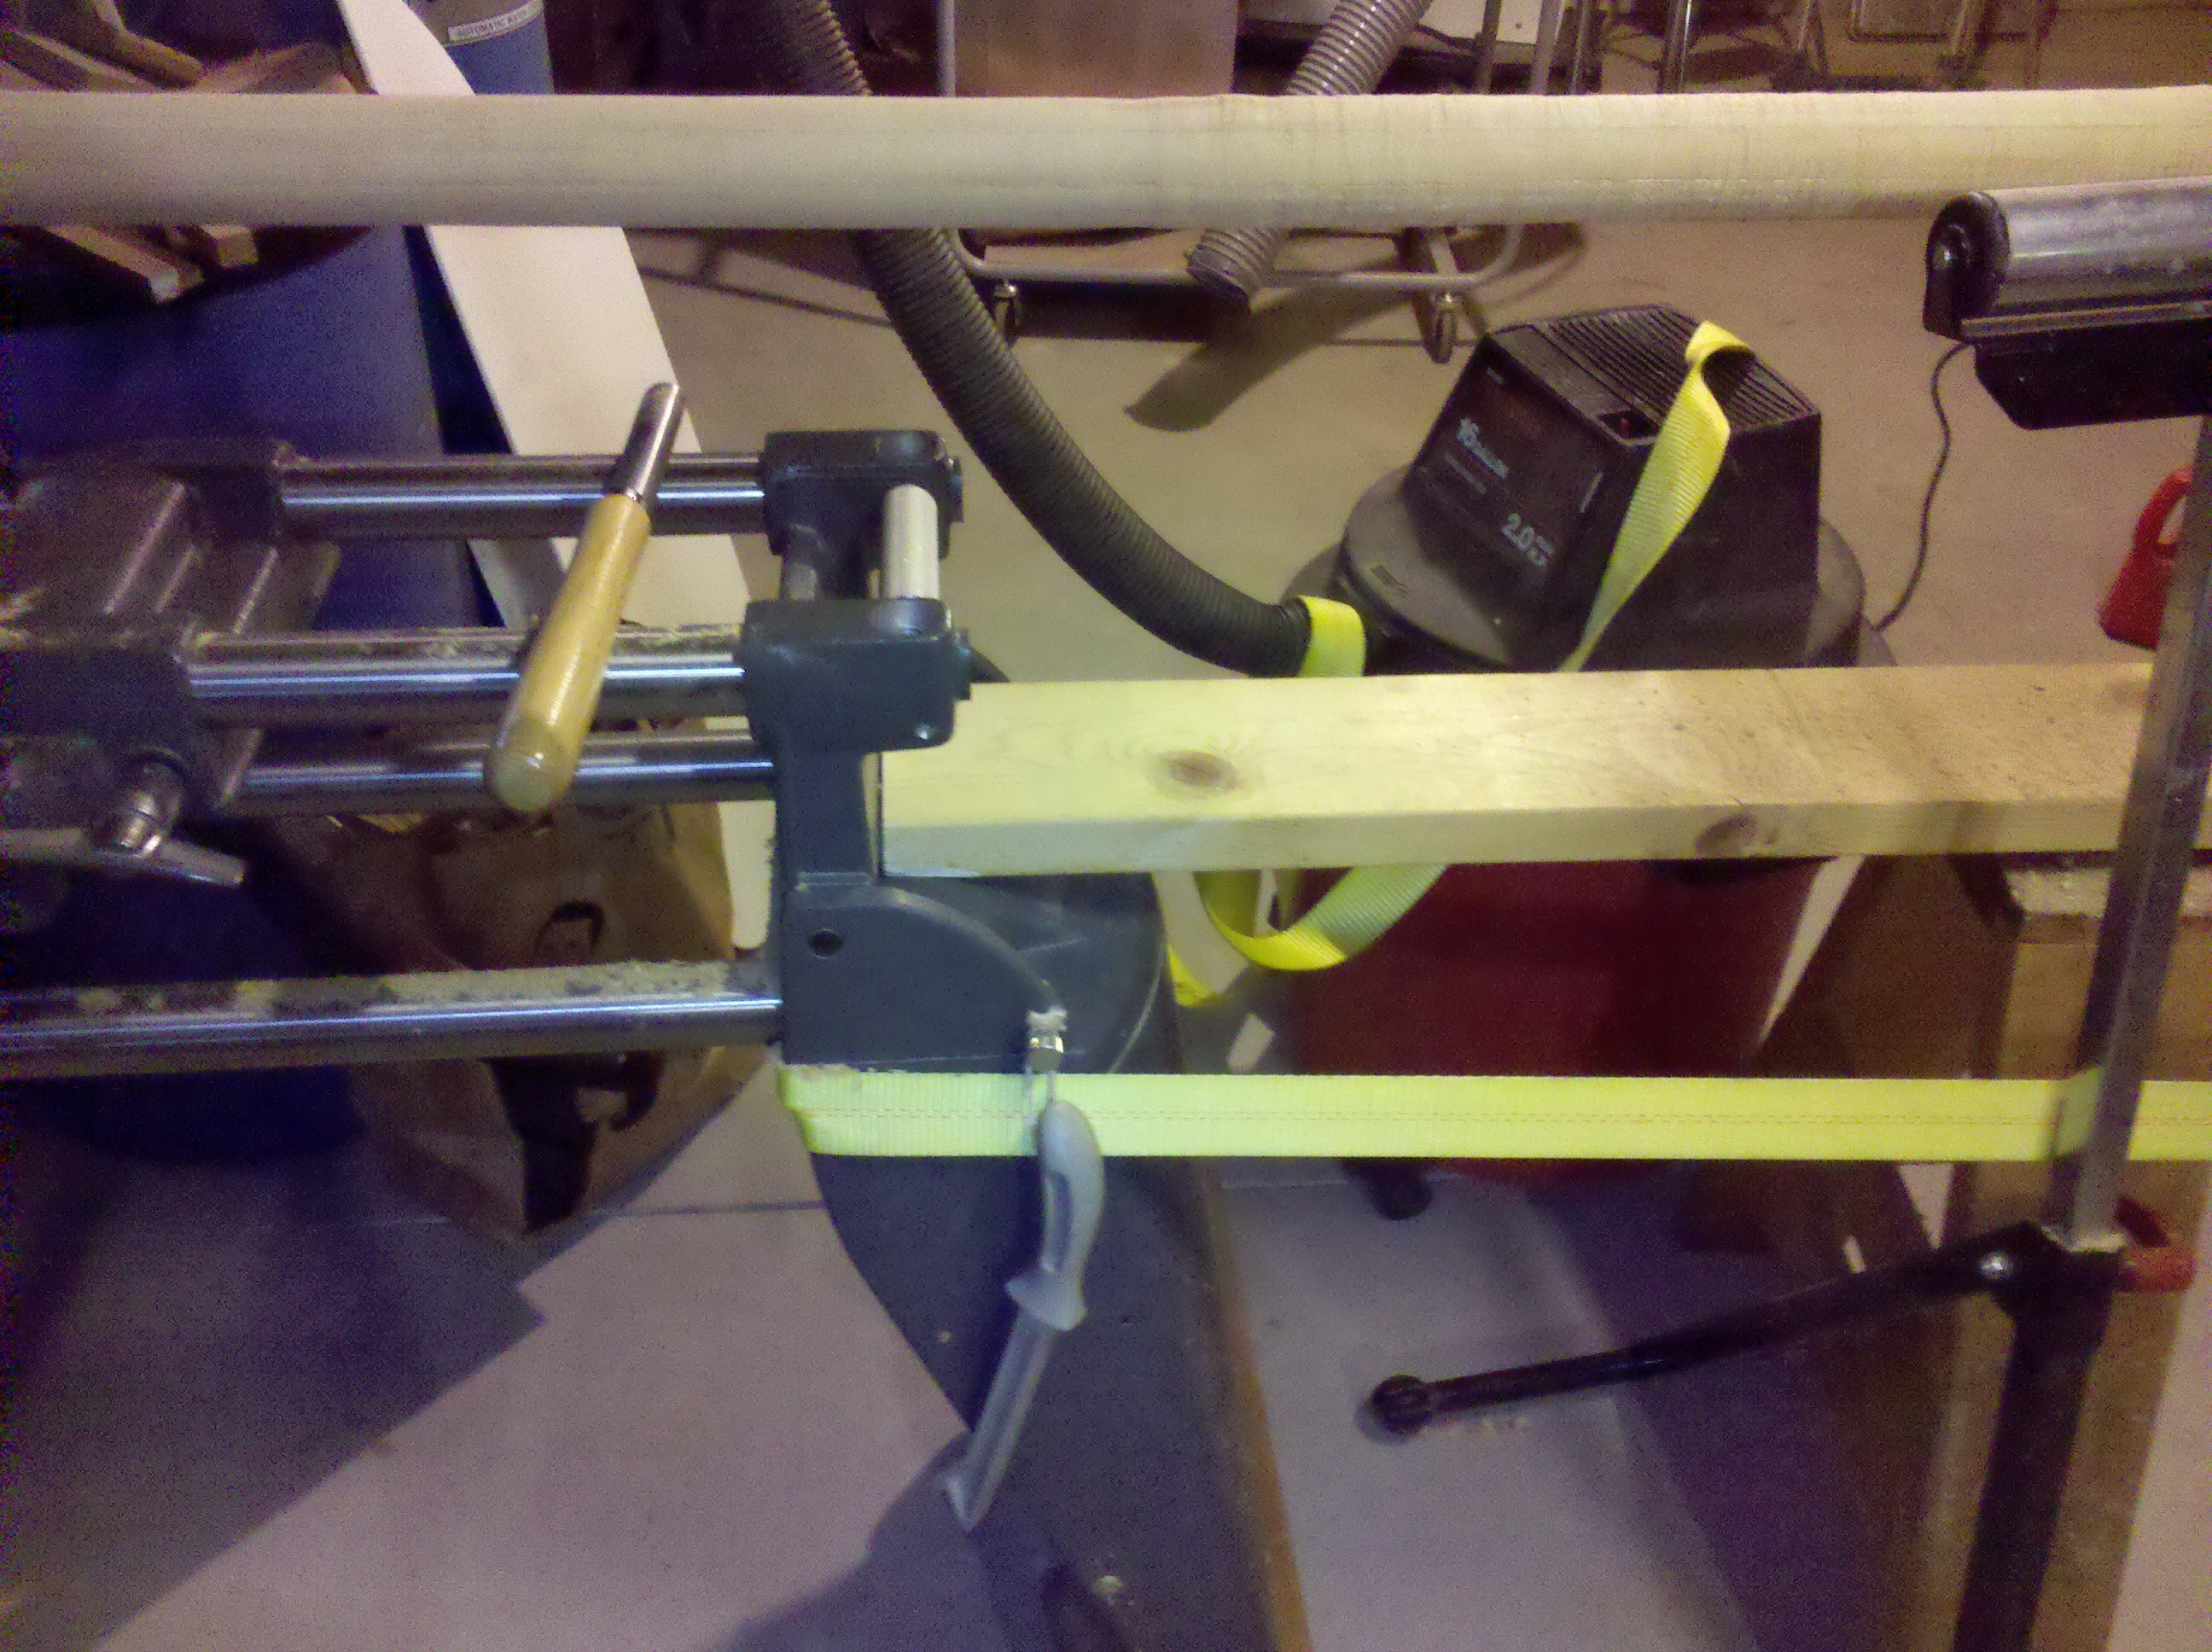
2×6 spacer and trucker’s ratcheting tie-down
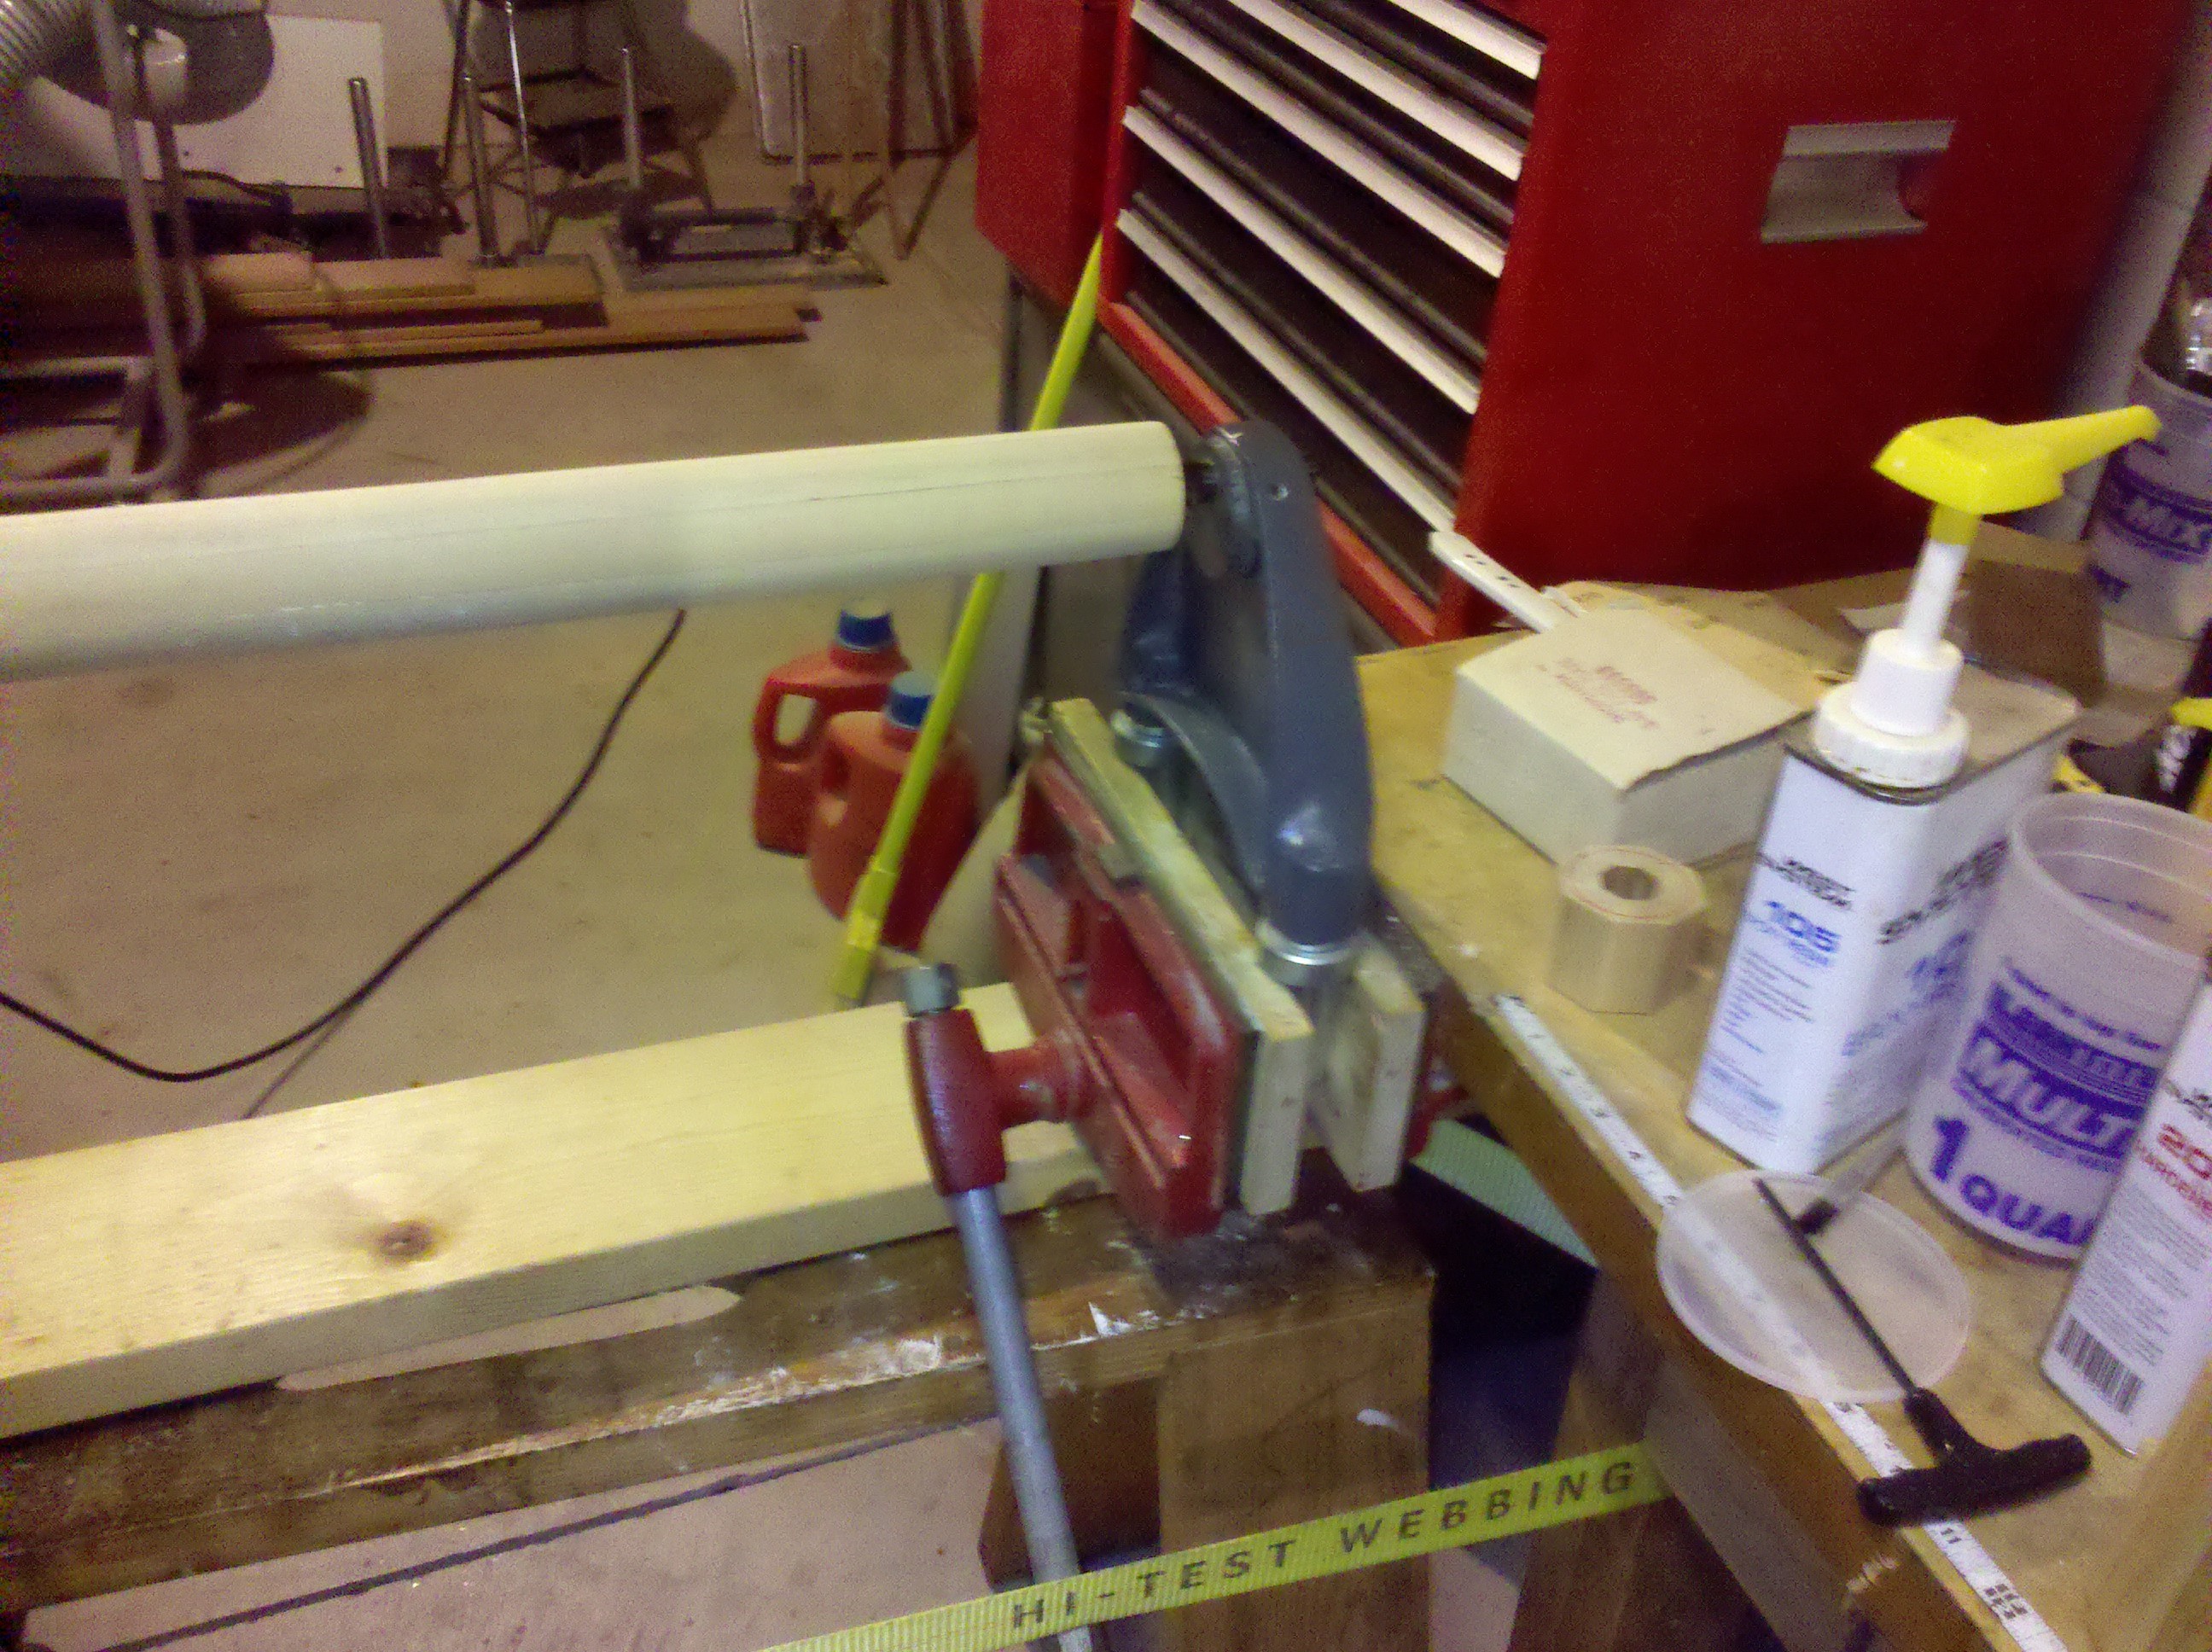
Tailstock secured in bench vise
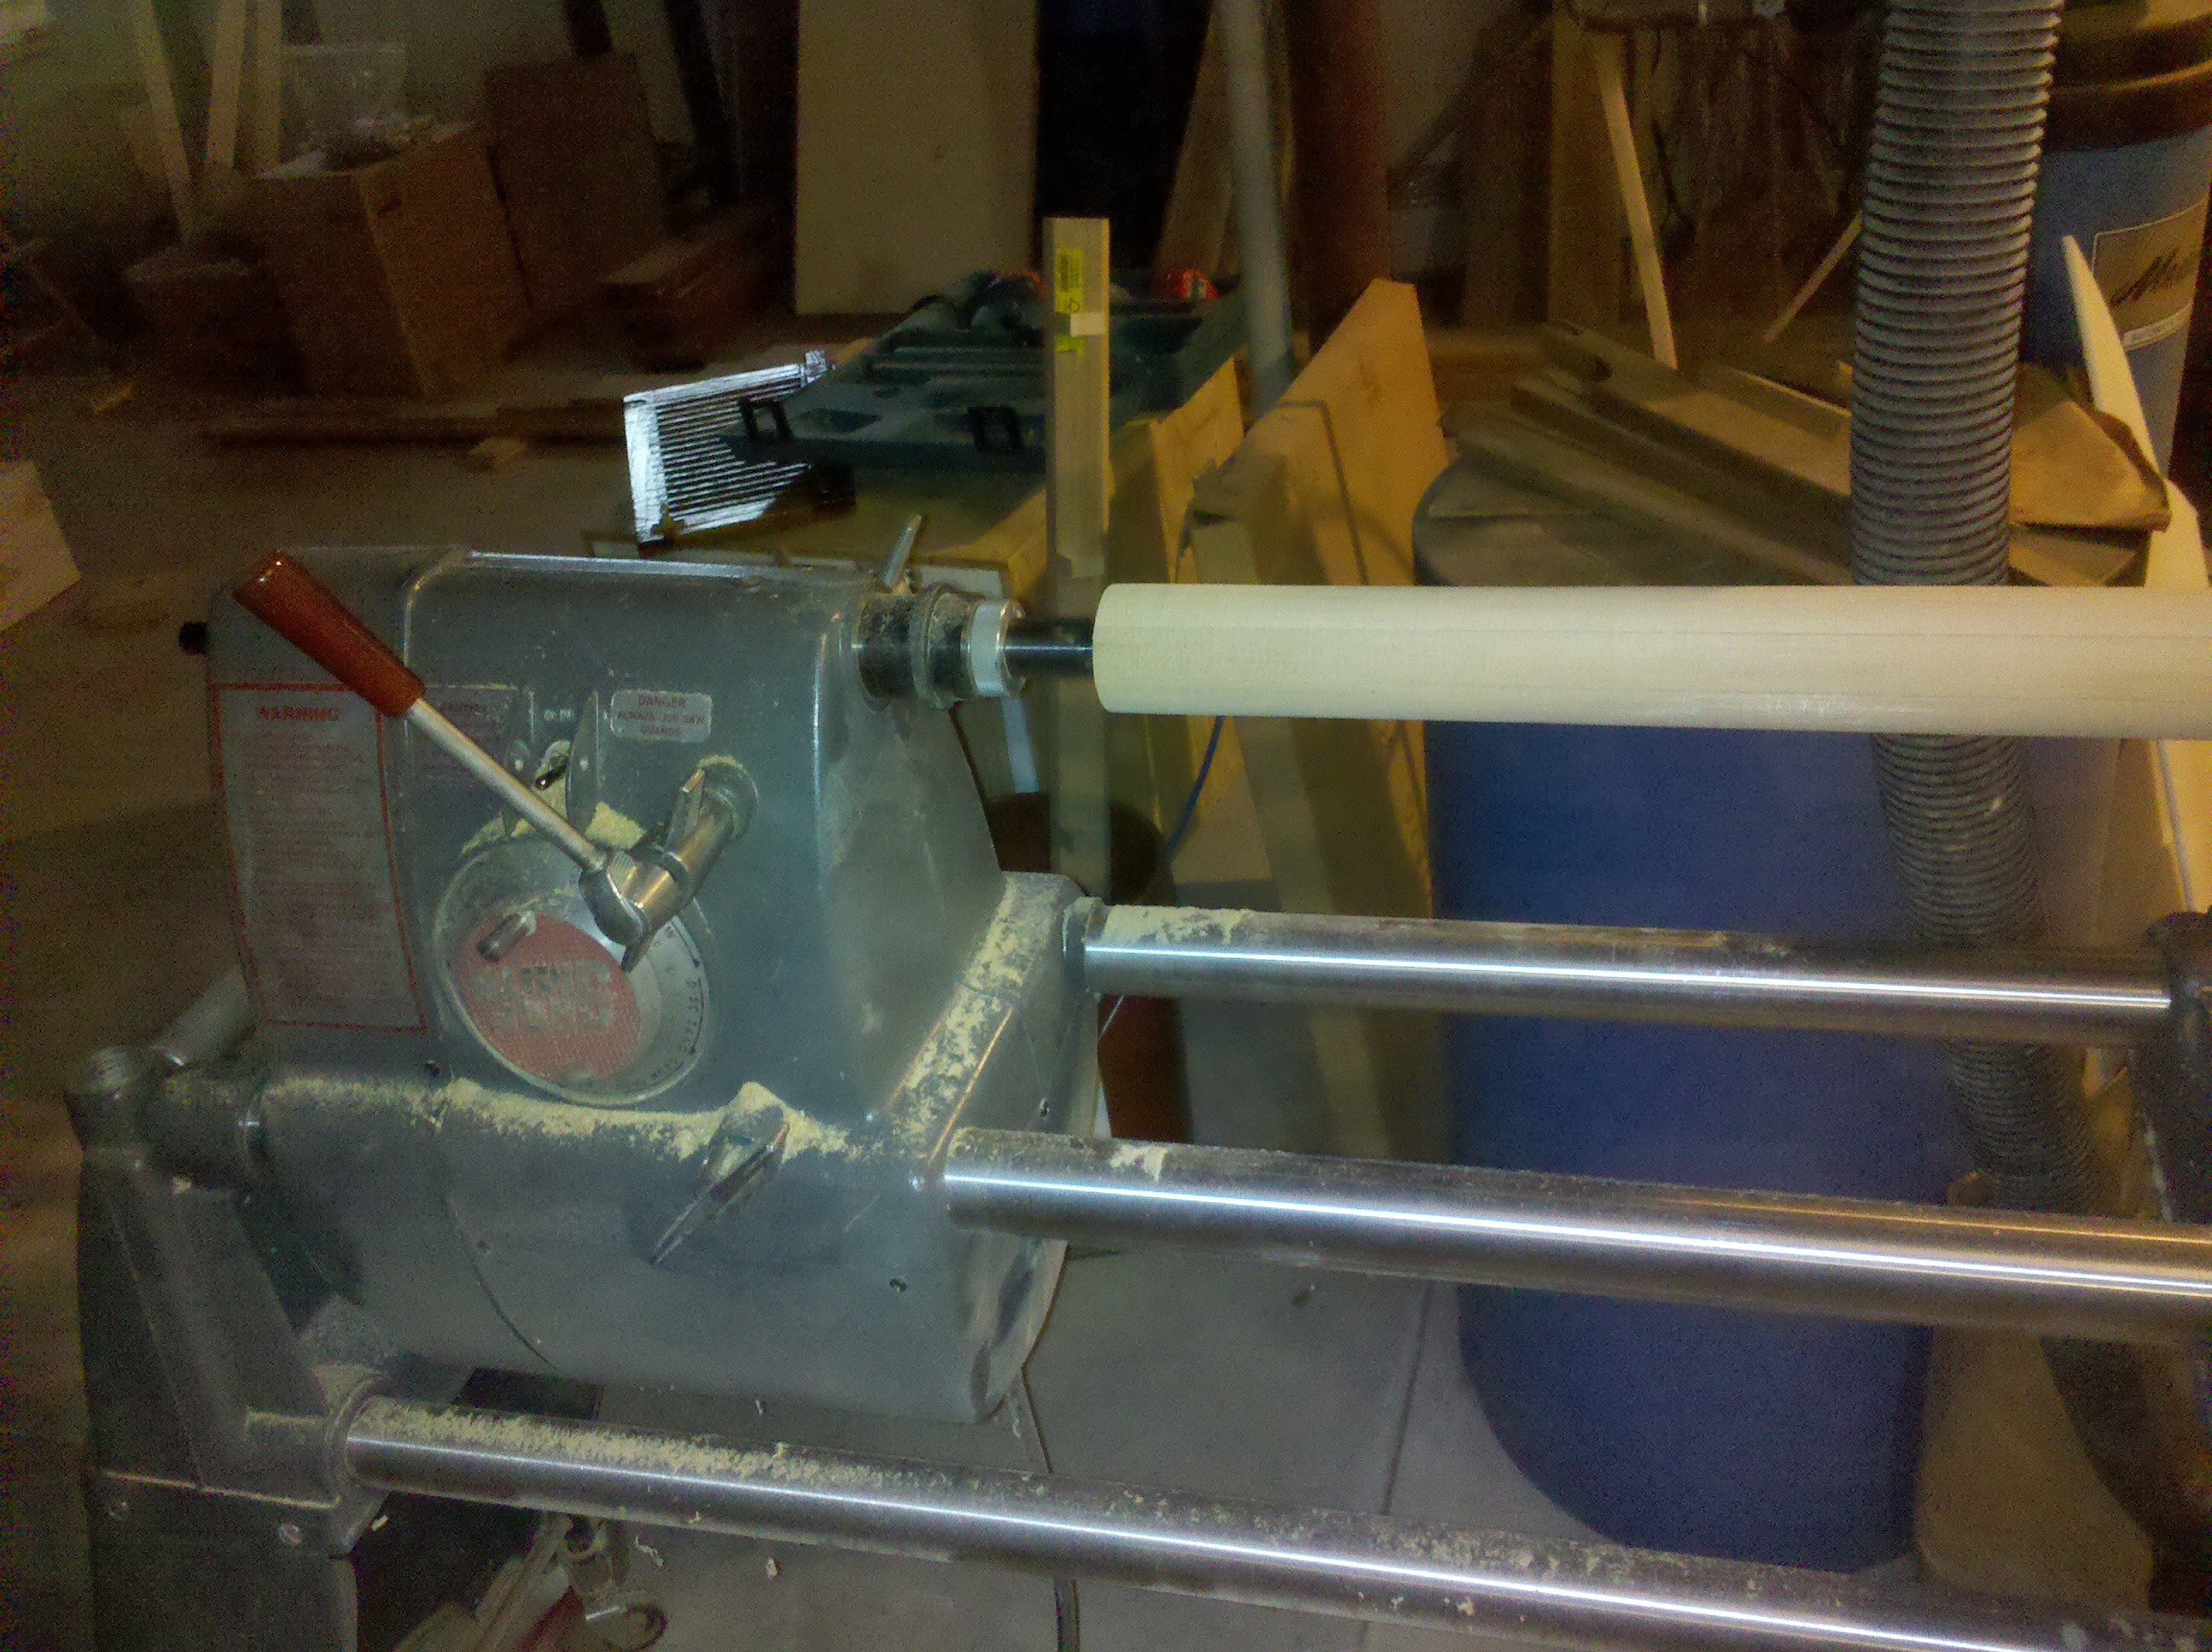
ShopSmith powerhead