Lazarette Deck Rebuild Project – by Dejan Radeka
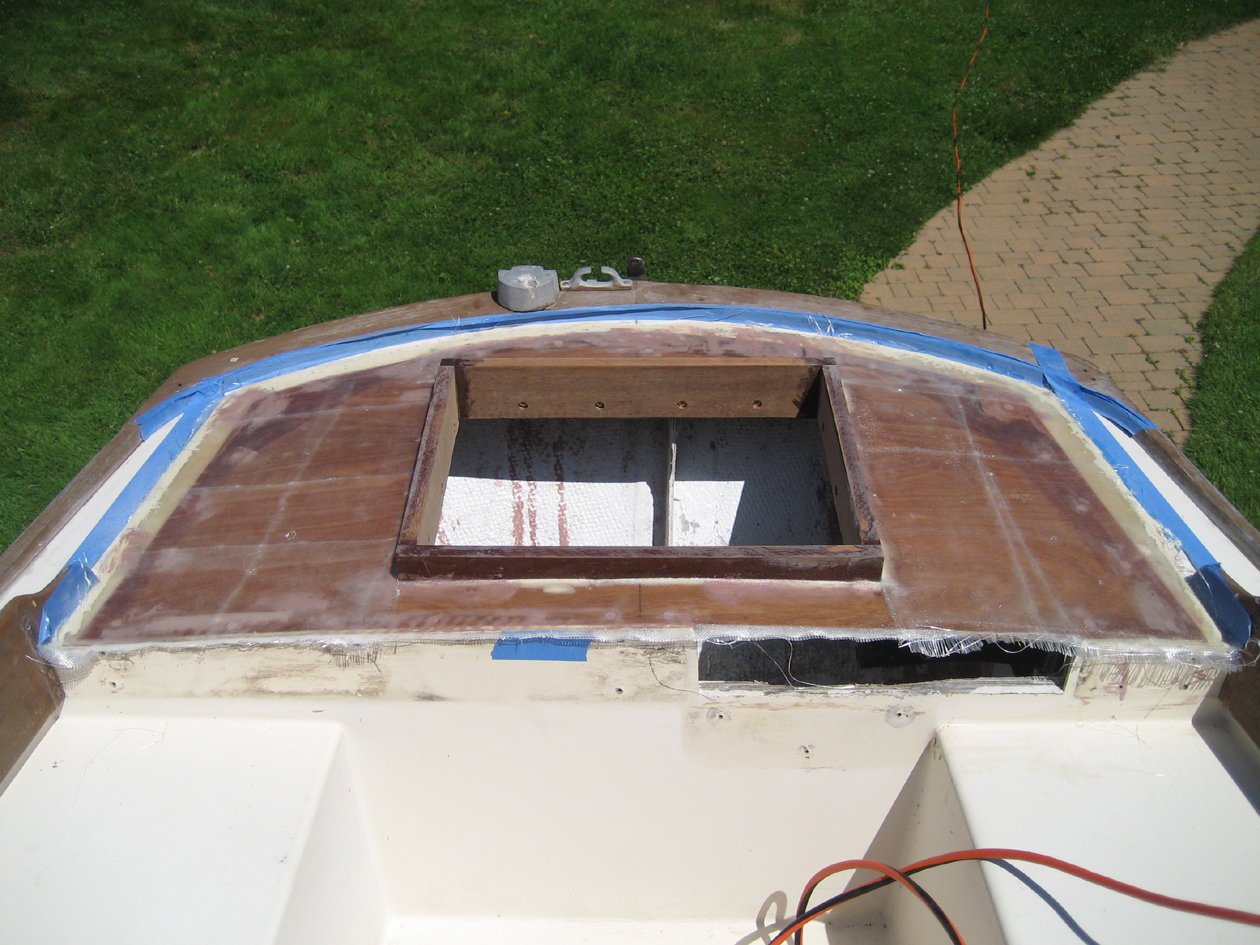
This was the first major project I undertook on Firefly. Many Spriters with pre-Ryder boats like mine, will ultimately recognize this major flaw in the execution of the lazarette deck hatches for the outboard motor well. These hatches were simply cut out of the deck lamination, with hinges and trim added. The balsa core was simply covered over with sealant. Over time, water would get into the deck laminate, saturate the balsa core, and cause delamination.
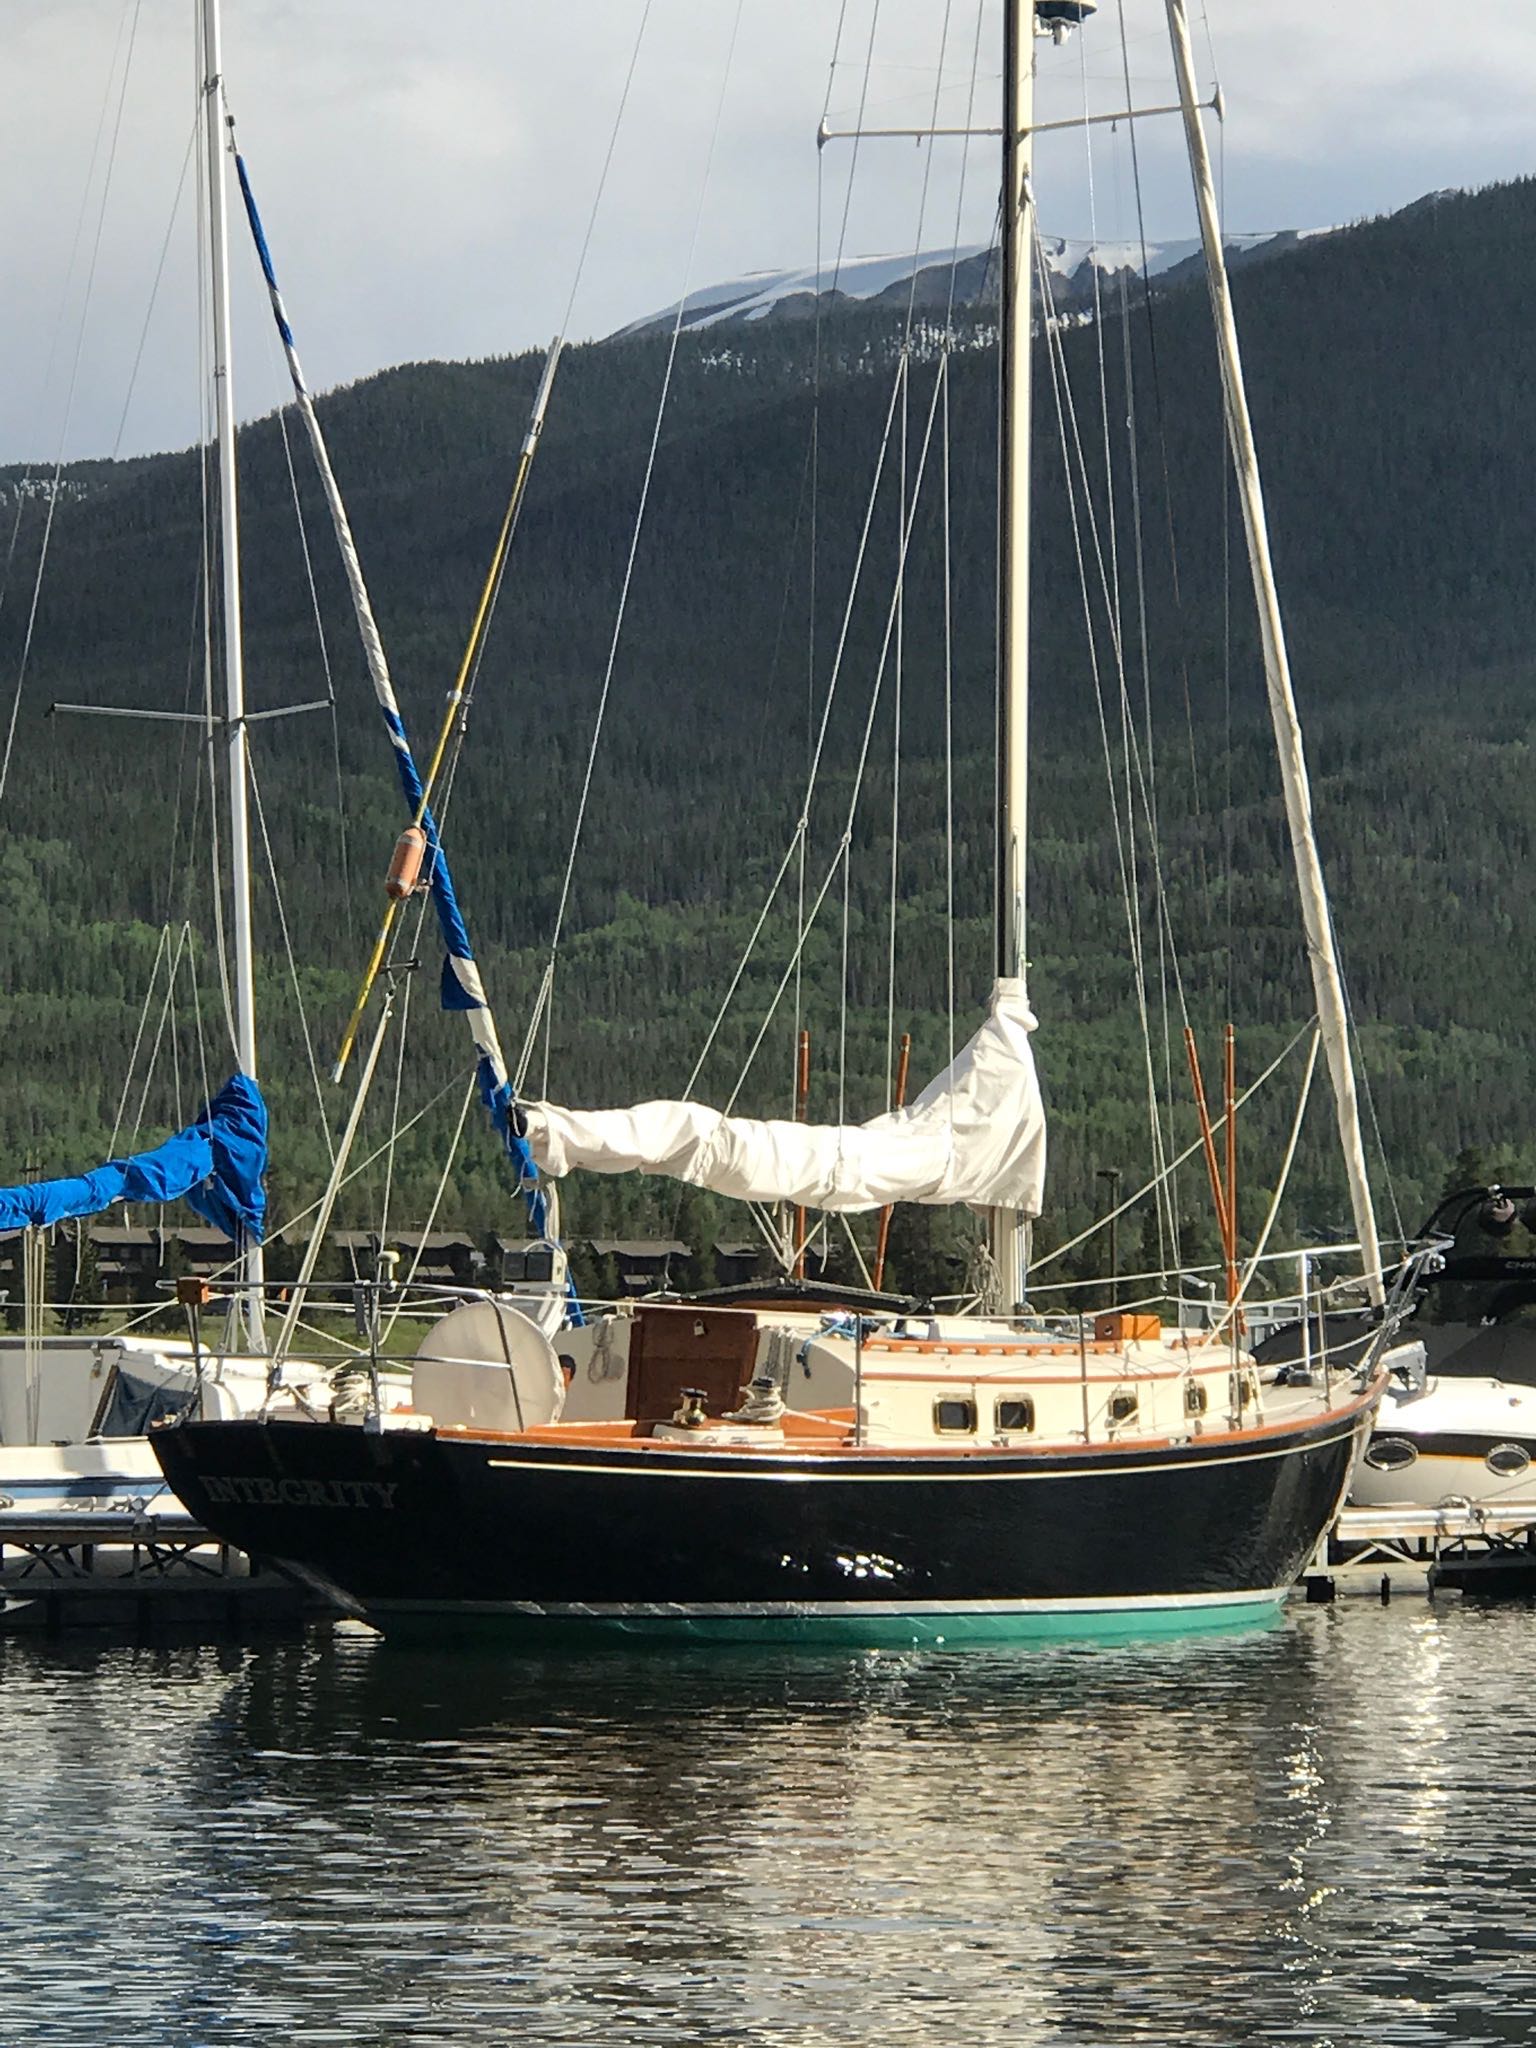
We’ll take a quick detour from the project to provide some context. Carl Alberg actually designed the Sea Sprite 23 to have a small inboard motor; this is evident from the lines drawing. The vast majority of Sprites built however, did not have the inboard option, rather they were equipped with an outboard motor mounted in a lazarette motor “well.” Many sailboats of this size and vintage were so equipped. With this option there is virtually no above decks storage available as the motor takes up most of the lazarette area. Another disadvantage is that you cannot fully tilt the motor out of the water, therefore the boat suffers the associated drag while sailing, and the lower unit becomes fouled during the course of the season. Lastly, on the Sea Sprite this is a really lousy design because to mount the outboard means you have to leave the lazarette hatch open all the time because the outboard head unit stands proud of deck level.
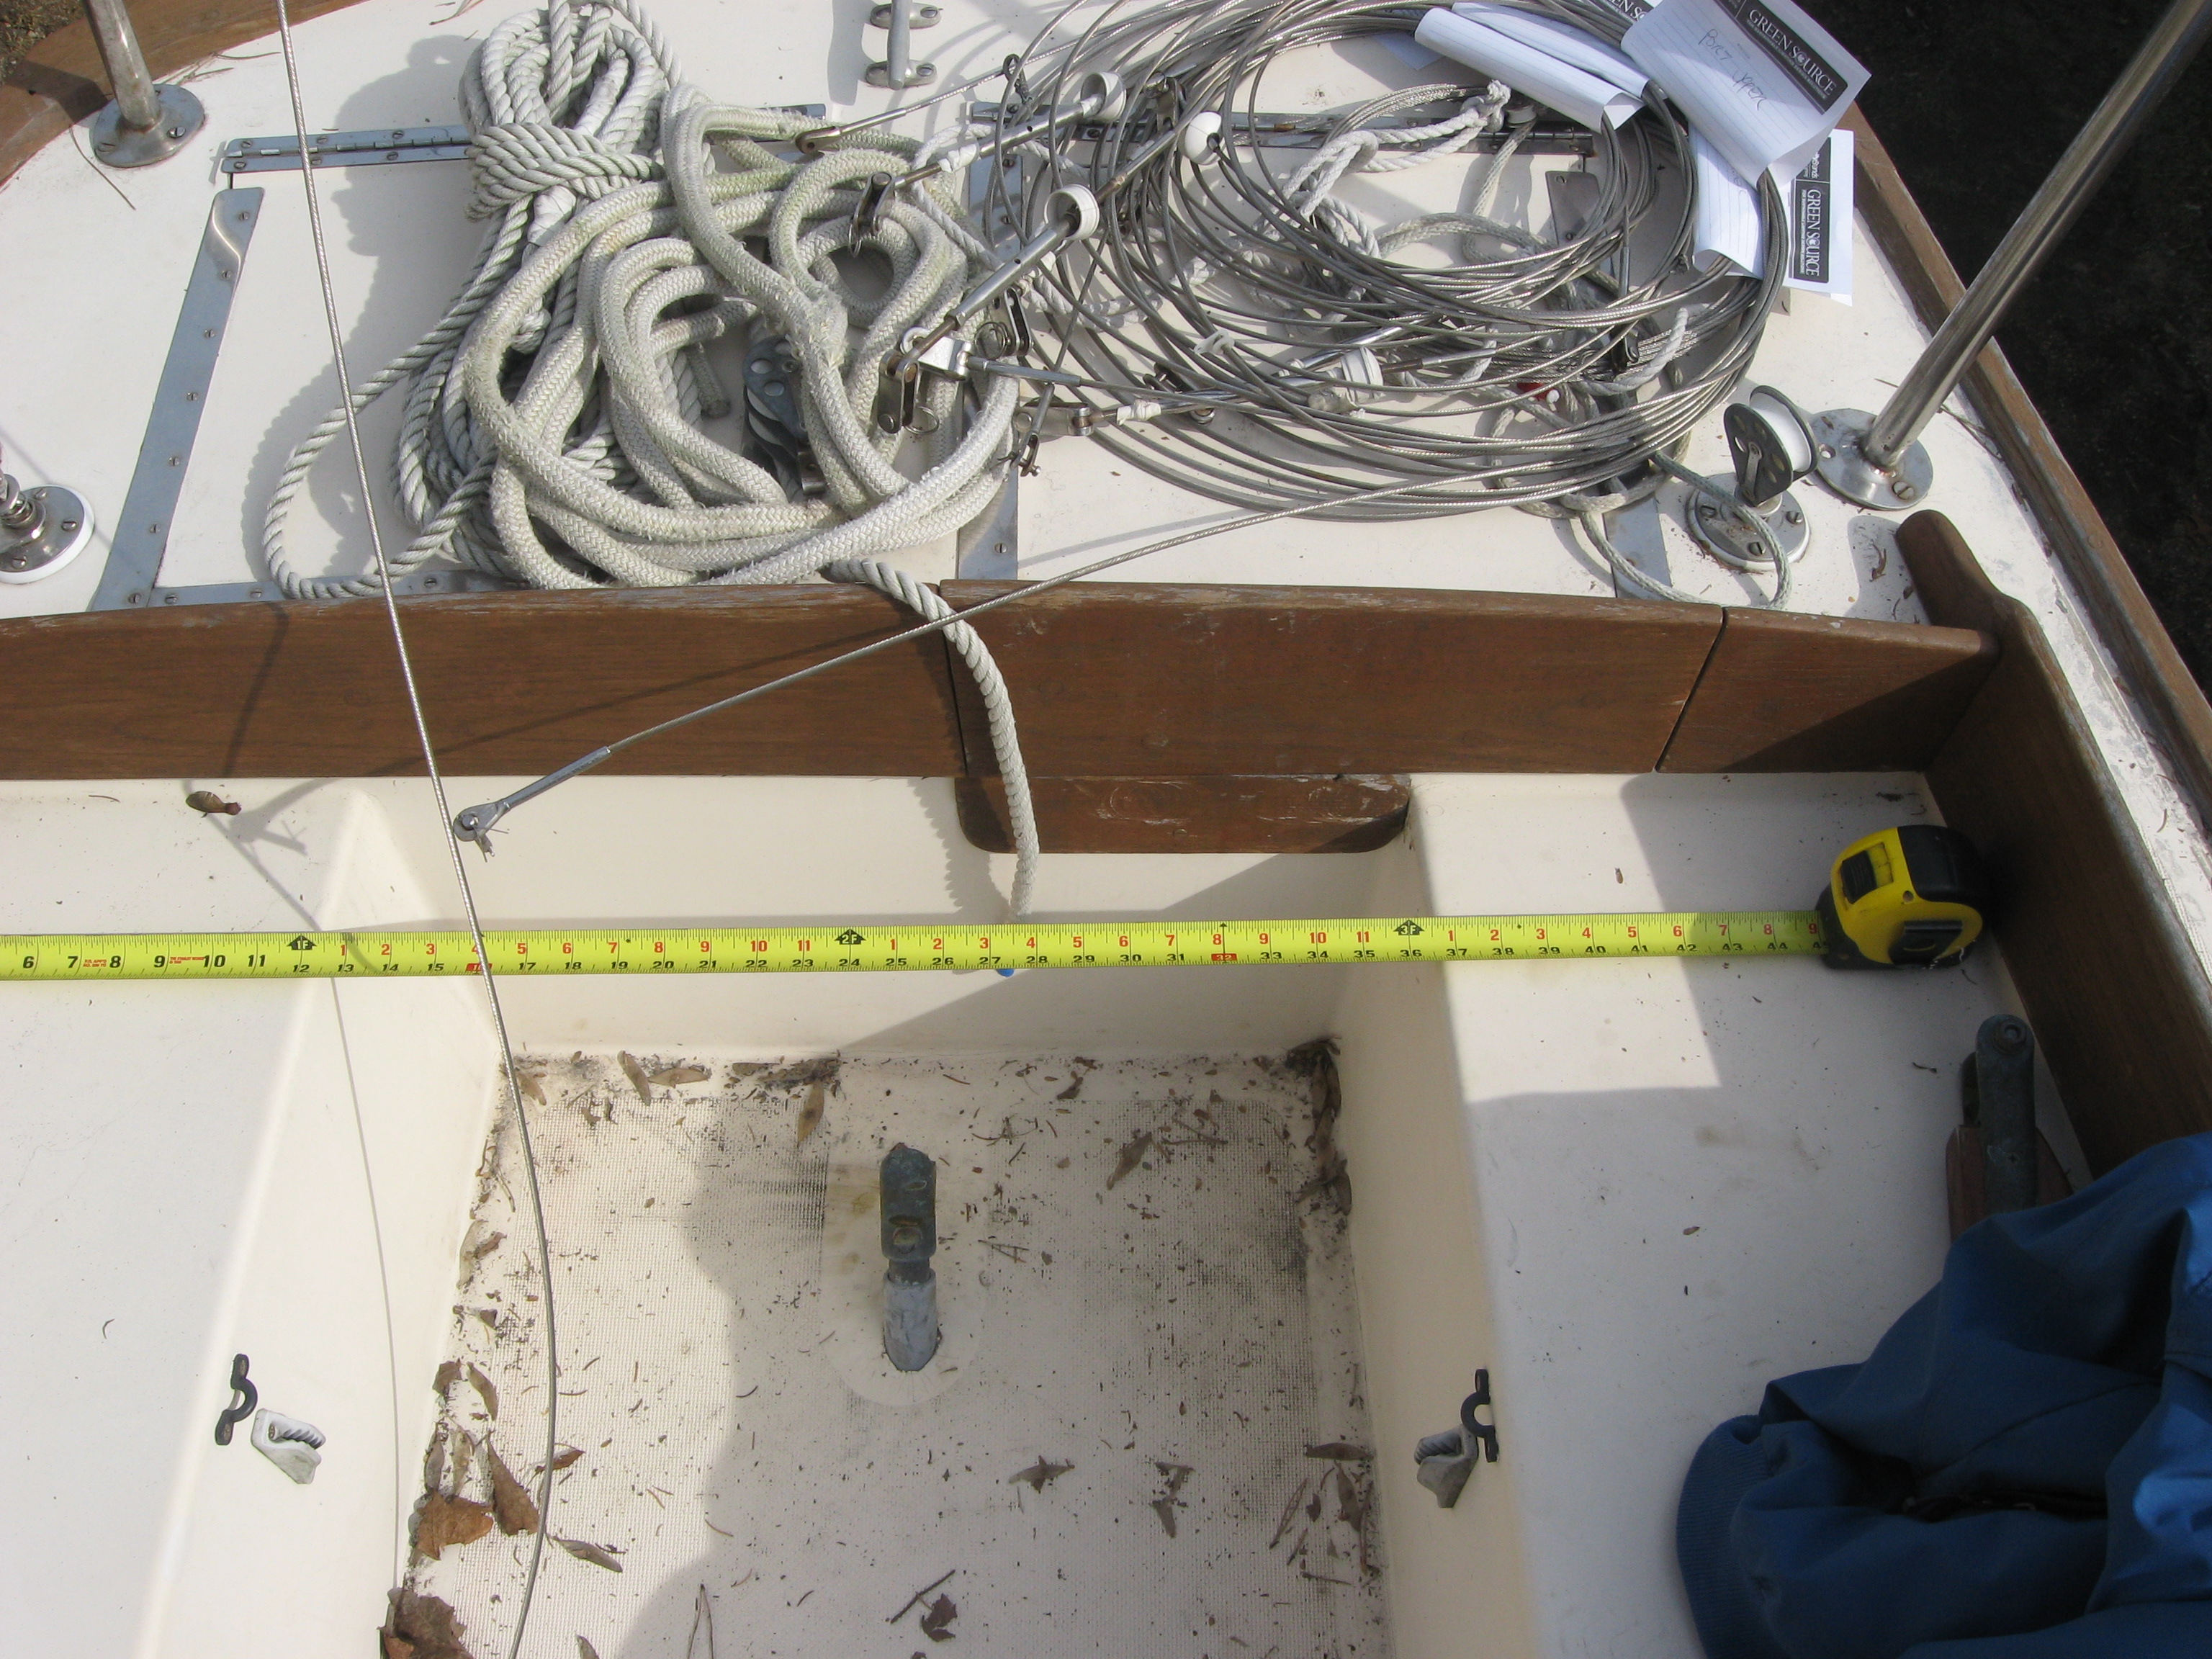
Now back to our story. When I bought the boat in March, 2009; there was still snow on the ground; everything was frozen, and the sodden lazarette deck was not obvious to me. Lesson learned: ice is structural; sodden balsa cored decks that are frozen in the winter; seem fine when you sound them! So this first picture is really the only “before” picture that I have of the original lazarette deck, as I was sorting through the rigging mess one warm Spring afternoon.
Fast forward from Noank in March to Middletown in late May; the structural ice is melted, the boat is home, and the sodden deck became obvious. However, because I did not plan to regularly use an outboard I decided to change the stern configuration of my boat and do away with the motor well and build a lazarette storage locker instead. This involved rebuilding the deck and glassing over the hole in the hull. In this article, I will focus on the deck rebuild.
As it turned out, some of you in New England may recall that it seemed to rain constantly during May and June of 2009. Because I had no shelter for the boat I decided to build the new lazarette deck and hatch in my basement, and then glass it in as a module once the weather cleared.
I took numerous measurements of the aft deck and the camber, in order to lay out a new deck “module” and the corresponding hatch cut out.
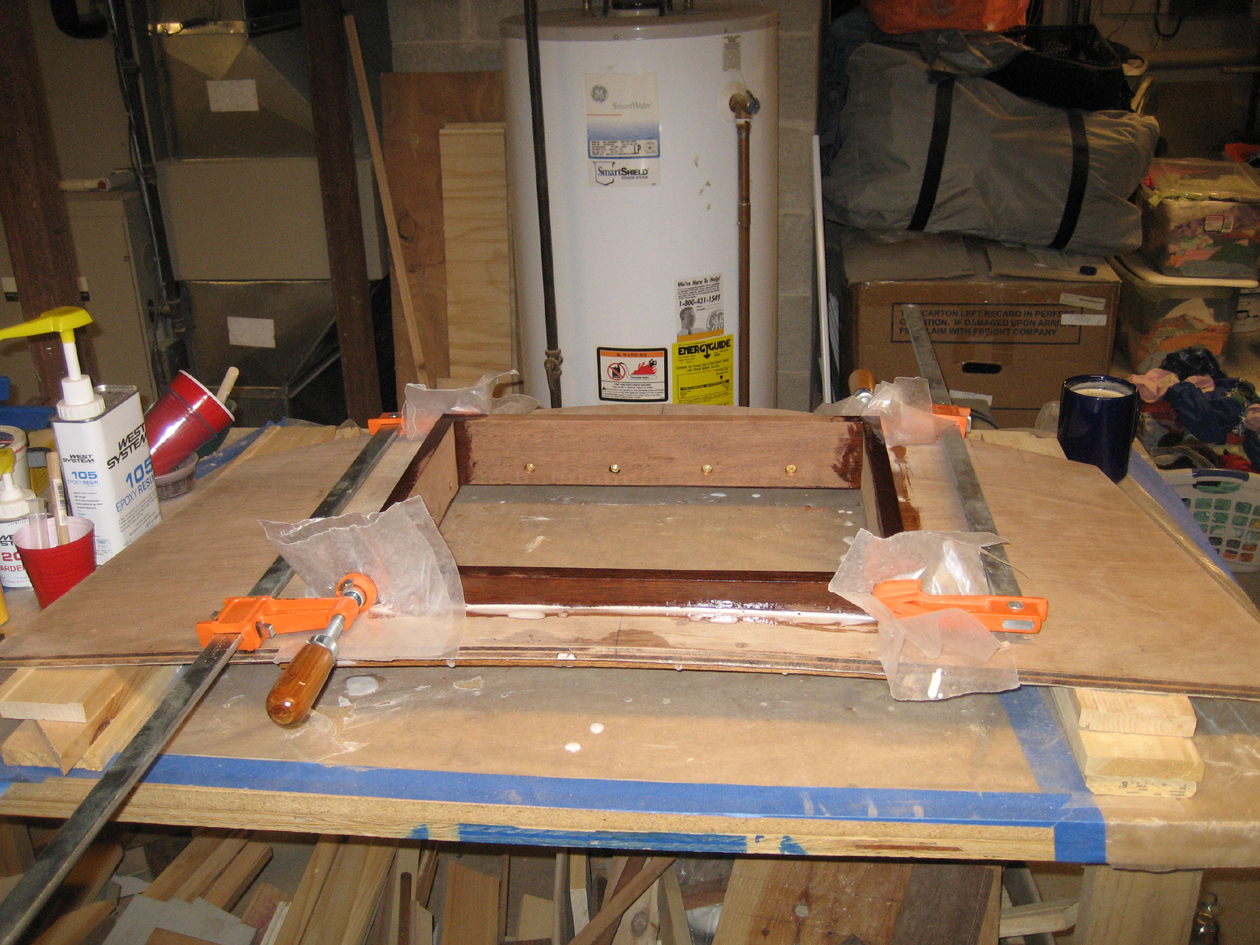
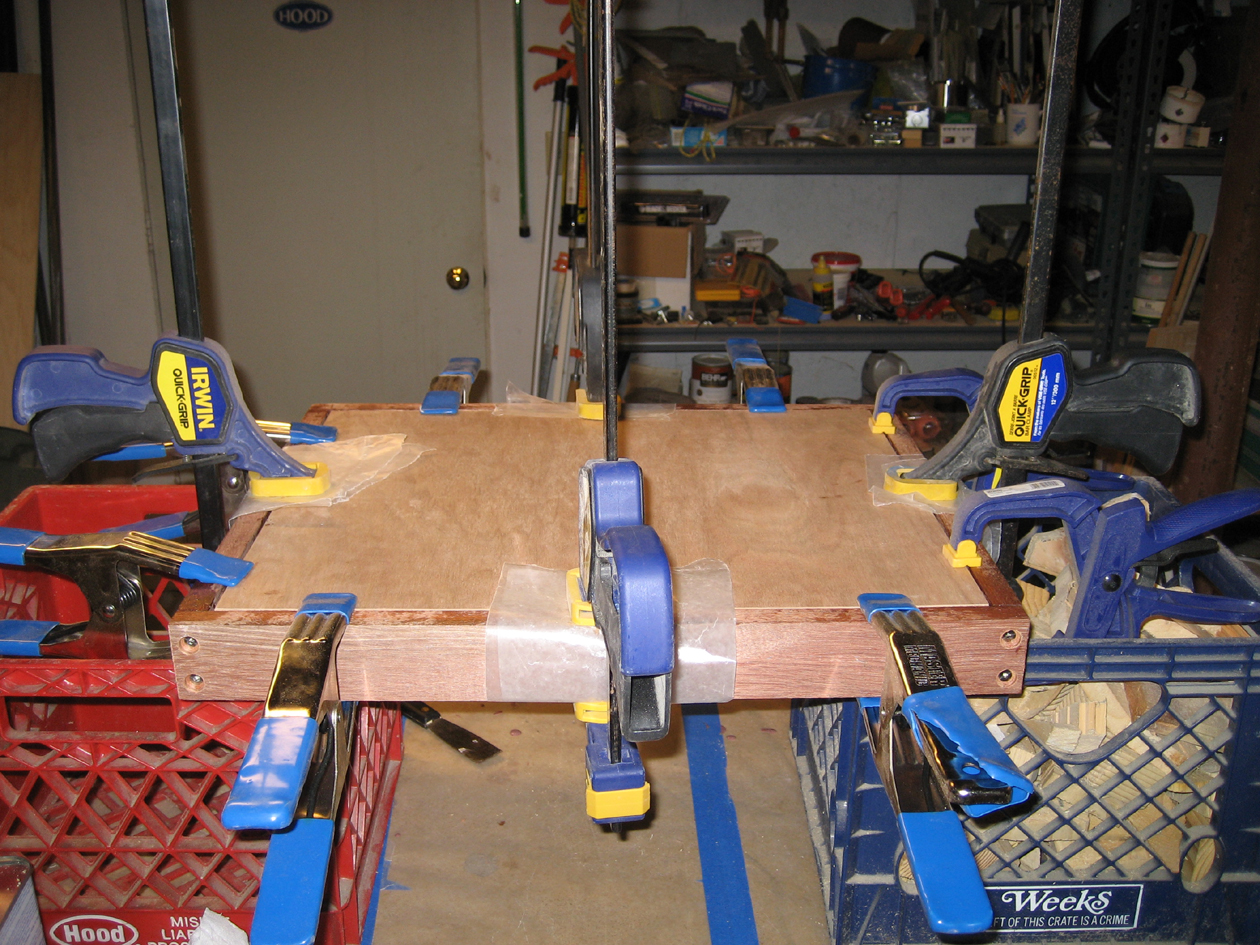
In the following photo you see the beginning of the fabrication of the deck module. Oak laminated support beams go athwartships to provide structural support. These are made from oak stock that I ripped down to 3/8″ thick strips, and screwed and epoxied to the underside of the “new” deck, which is a piece of 1/2″ ply cut to shape, and bent to match the curve of the original deck, which has a deflection of 1 1/8″ over a 46″ width. I created the camber by inverting the piece on my work bench, with a support on either end, and a piece of aluminum square tube clamped down in the middle. You can also see the precut hole for the new hatch. Lastly you also see the 2 layers of 6 oz glass that I laid up on the underside of the deck.
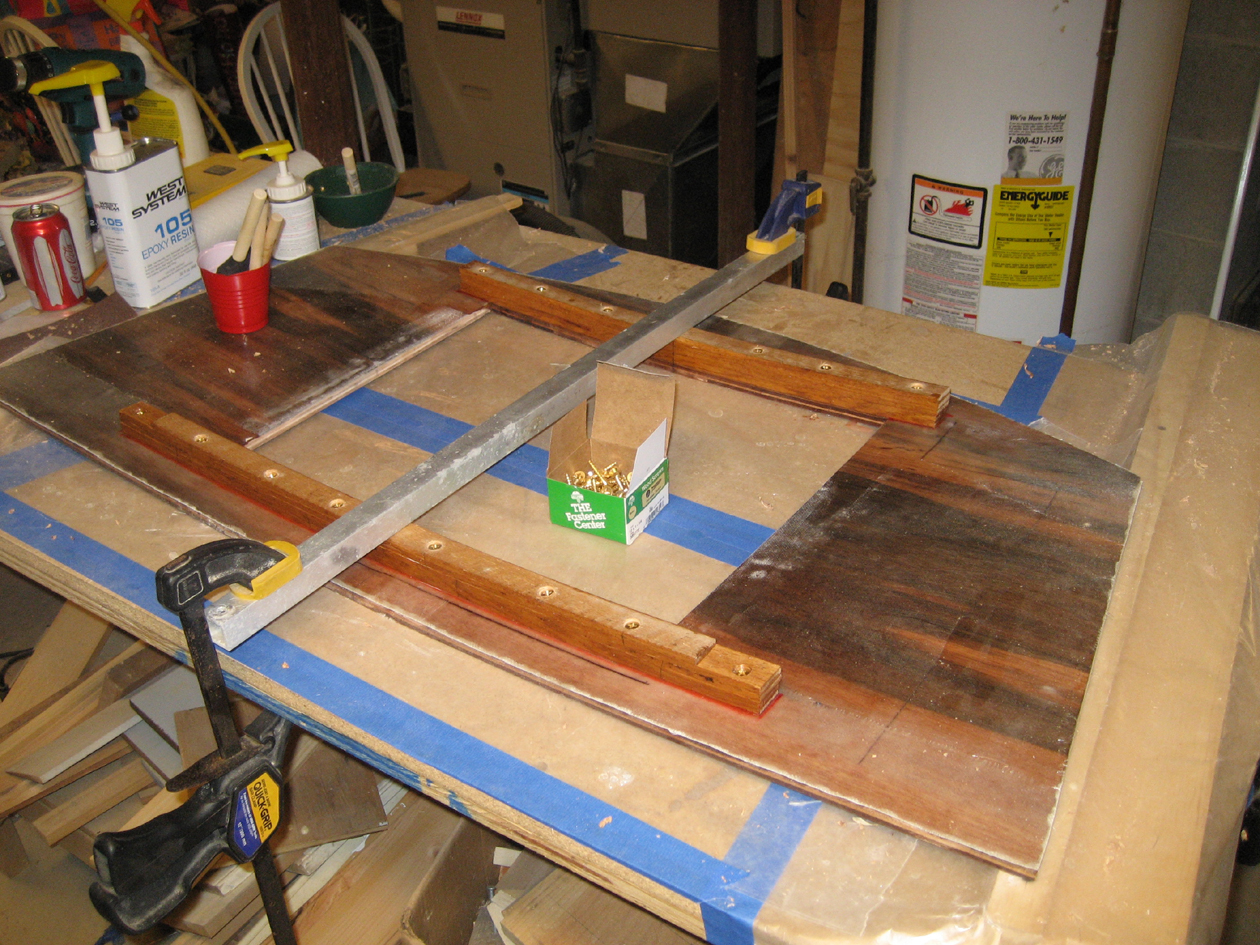
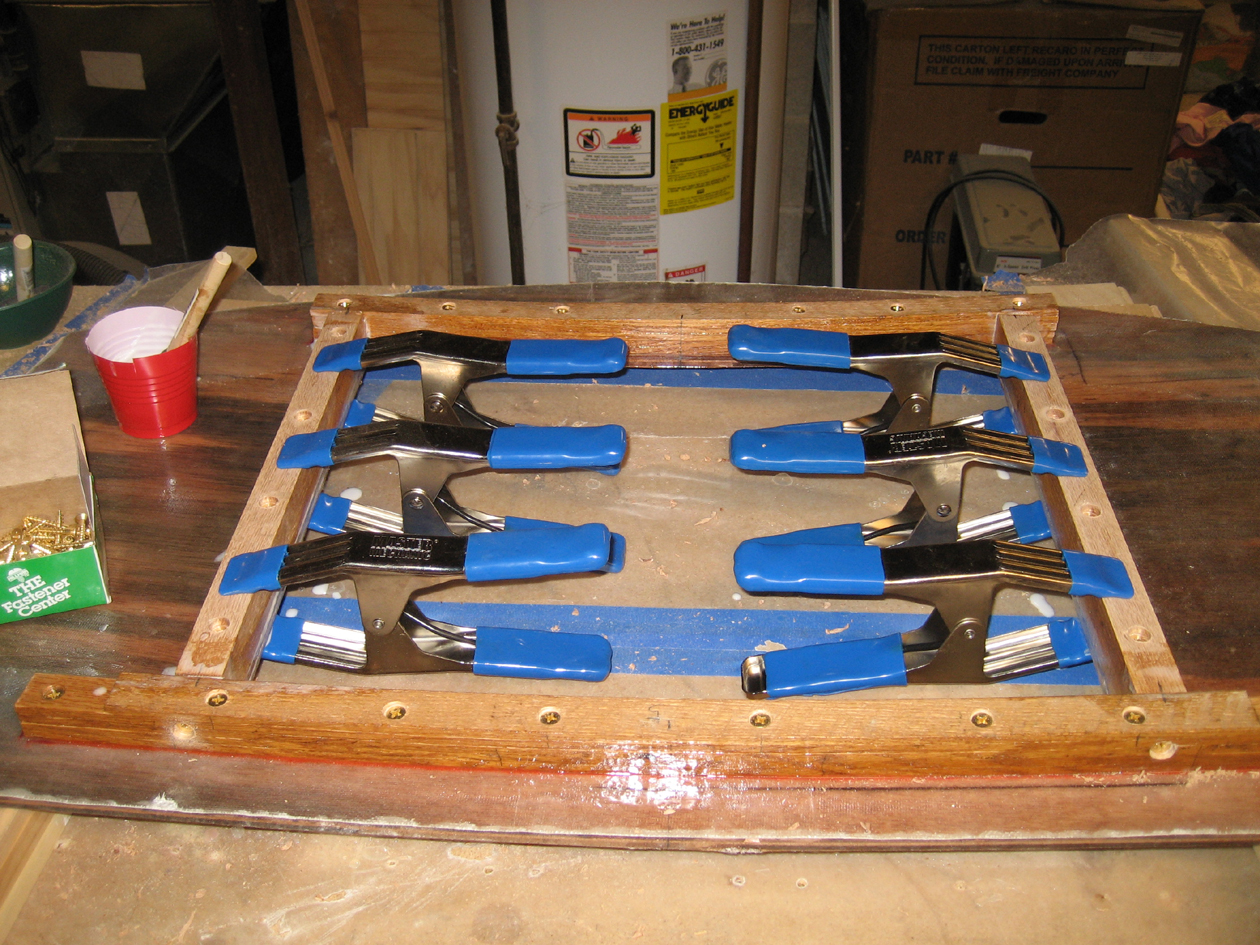
The longitudinal deck supports, in the photo below (clamped), are made from solid oak that I ripped down to about 1 1/4 square, and epoxied and screwed in place. Note, because the deck is curved, these pieces could not be square, otherwise the hatch coaming, would not have vertical sides. I had to calculate the angle of the deck at this point, and then rip an angle (It was about 5 degrees) into one side of each longitudinal piece. This would be the “top” of the support, and obviously fasten to the “bottom” of the deck piece. These, and the athwartships laminated beams, provide structural support to the deck and make up the bearing surface for what will become the hatch coamings.
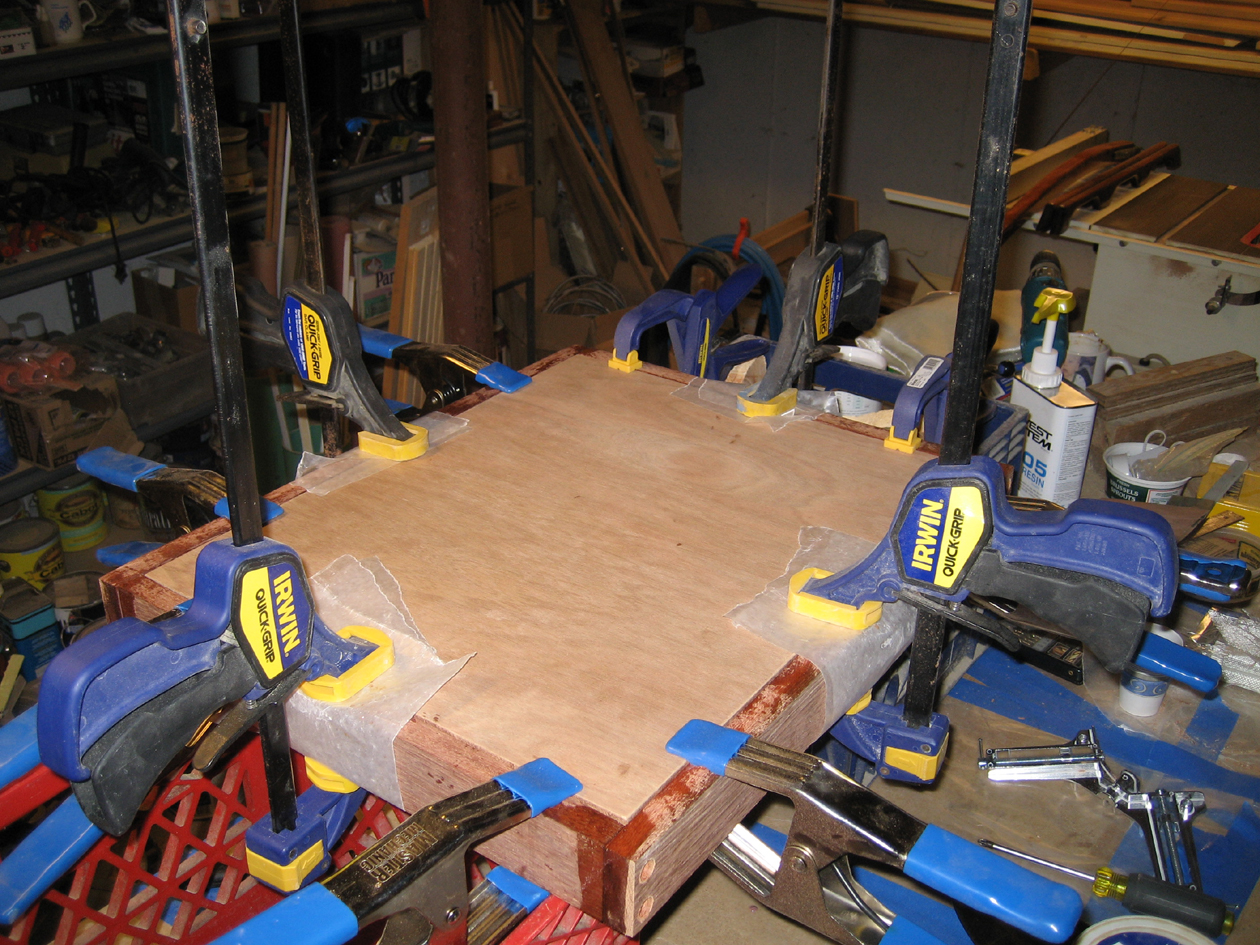
As shown in the next photo, I have constructed the hatch coamings from mahogany, screwed and epoxied.
In this next photo I’ve brought the pre-made deck unit outside to size up the fit on the boat. You can see from the forward lazaratte bulkhead deck edge that I got the deck camber virtually exact! I originally thought, due to time constraints and my desire to get on the water, that I might just glass this unit, and then just bolt it to the boat along with some bedding compound, and then do a more complete job the following season. However once I sized it up I saw that it wouldn’t take too much more time to just finish the job the right way from the beginning. So I proceeded to mark the outline of the new deck so as to determine how much top skin to cut away from the old deck laminate.
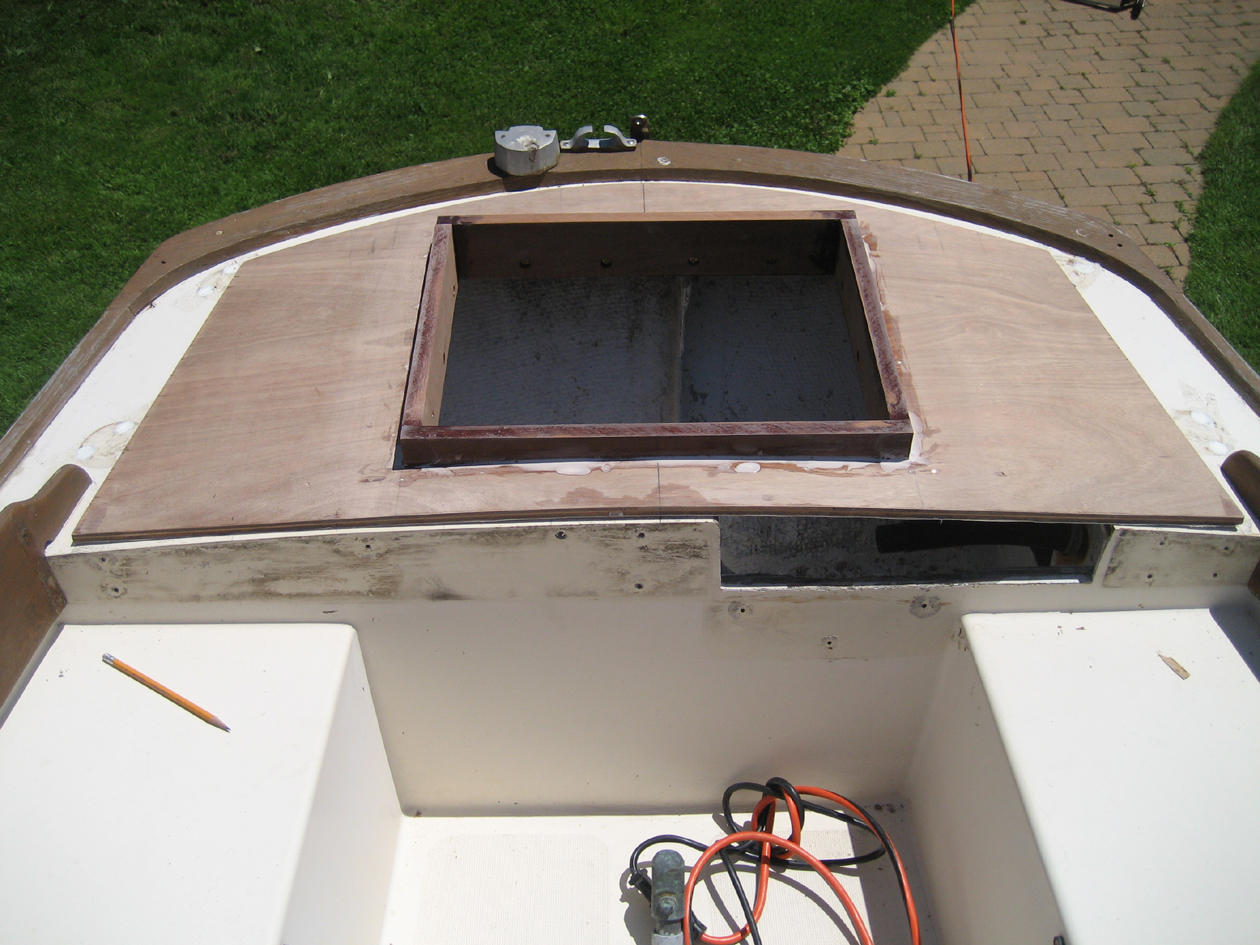
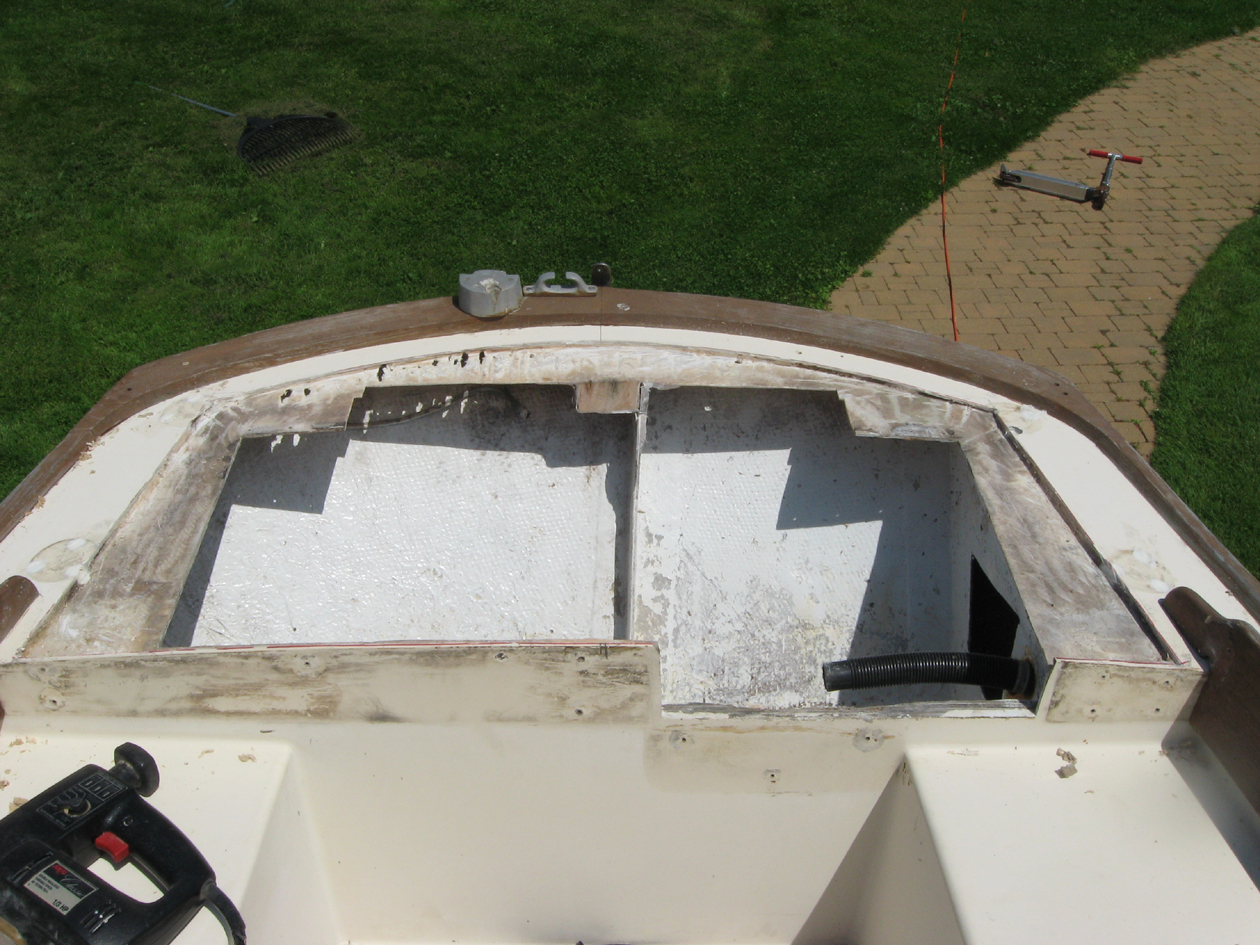
In the next photo you can see the extent to which I had to cut away the top skin of the original deck, to be able to set in the modular “new” deck. You can also see, when comparing to the very first “before” photo earlier in the article, how much material I cut away with the sawszall.

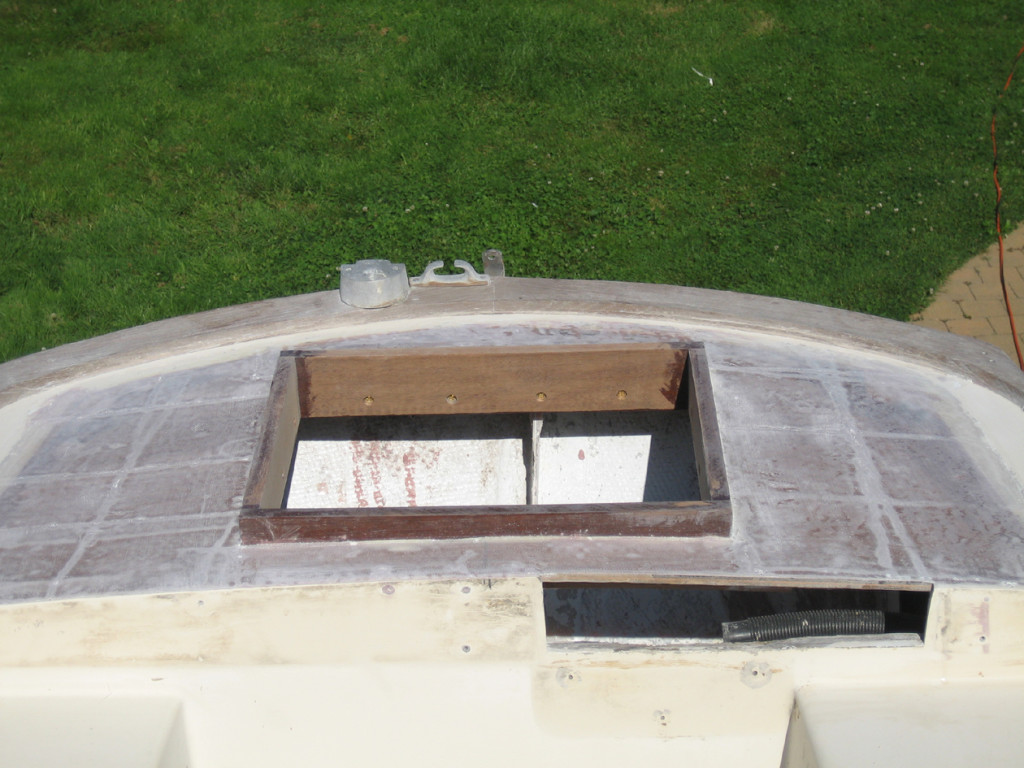
Here is the newly cut out deck ready for screwing and gluing.
Next, the new deck is installed; using epoxy and microballons, and screwed around the entire perimeter, along with some plywood backing underneath in some of the weaker spots. Once this kicked off; I took my grinder to it, and ground it down flush, and made a nice bevel to facilitate glassing it in to the existing deck. The grinder was worth its weight in gold; you simply cannot do any glasswork on a boat without a good grinder in the toolkit.
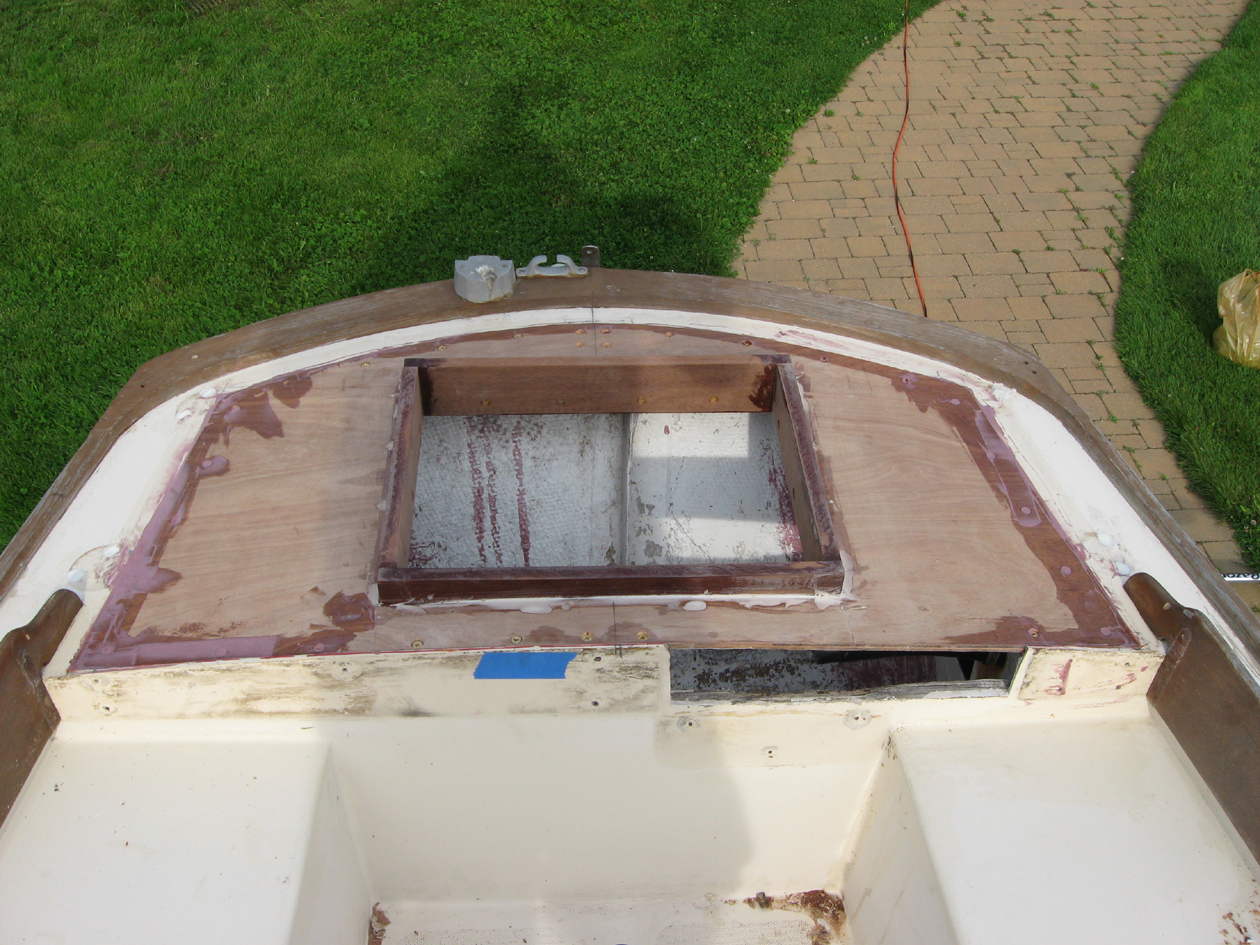
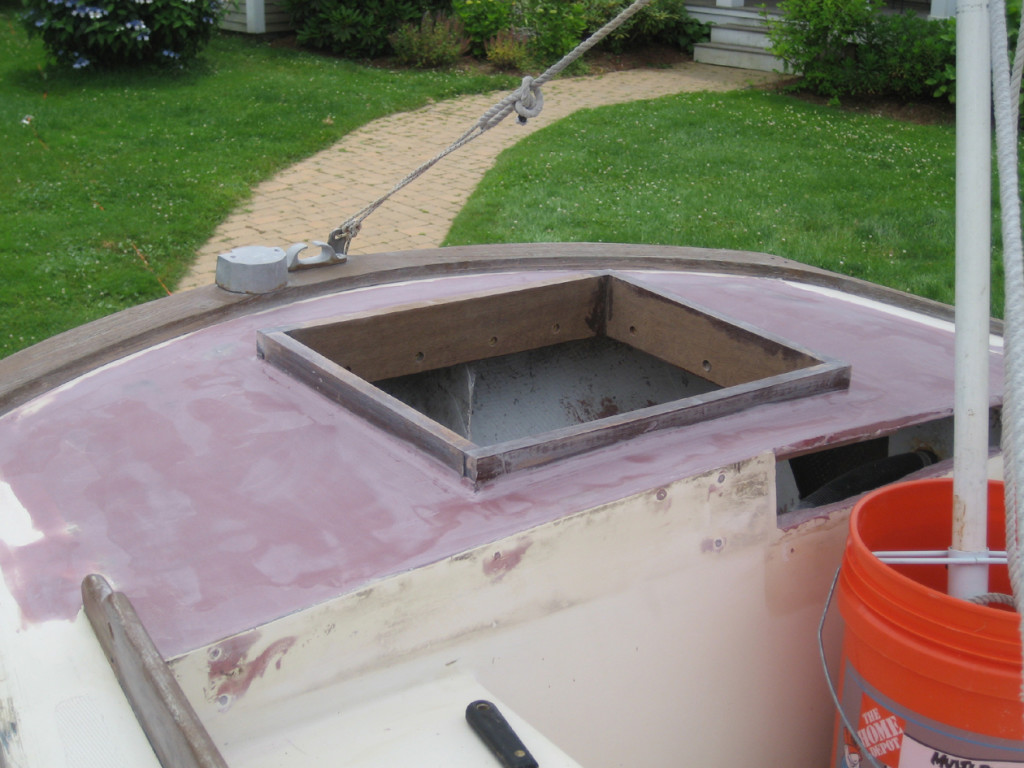
The next photo shows the new deck unit glassed in before sanding. By the way, the underside of the new deck has 2 layers of 6oz glass while the top got 3 layers of 6 oz glass. I did the top using 6″ “tape” in a criss cross or lattice pattern, much like grandma’s lattice peach pie… I carried the glass tape in multiple layers reaching farther and farther into the bevels ground into the original deck for a good solid bond.
Next, I sanded the deck as flat as possible to facilitate the filling and fairing process. This required much patience and alot of 60 grit sandpaper. My Porter Cable half sheet sander worked great. Luckily, it was a windy day, so the wind blew the dust away and by staying upwind of the work I didn’t need to wear a mask (it was too hot!)
The next step was fairing. This took ALOT of epoxy and microballons. It was really hot out that day, and I found I could only mix 2-3 “pumps” of West system, and fill that with alot of microballons. Despite using 206 slow hardener I still only ended up with about 10 minutes working time in the hot sun. 4-5 “pumps” would kick too quickly because of the larger mass. I went through ALOT of cups that day. Anyway, I did two rounds of filling, sanding, fairing, to get the finish you see here; which is ready for primer.
A note about the cutout in the forward lazarette bulkhead. This was left over from the outboard motor well, and is the spot where the motor was clamped. I did not bother with any glassing or finish work to close this hole as it was not necessary. The teak trim piece that I fabricated for the traveler track, mounts right over this.
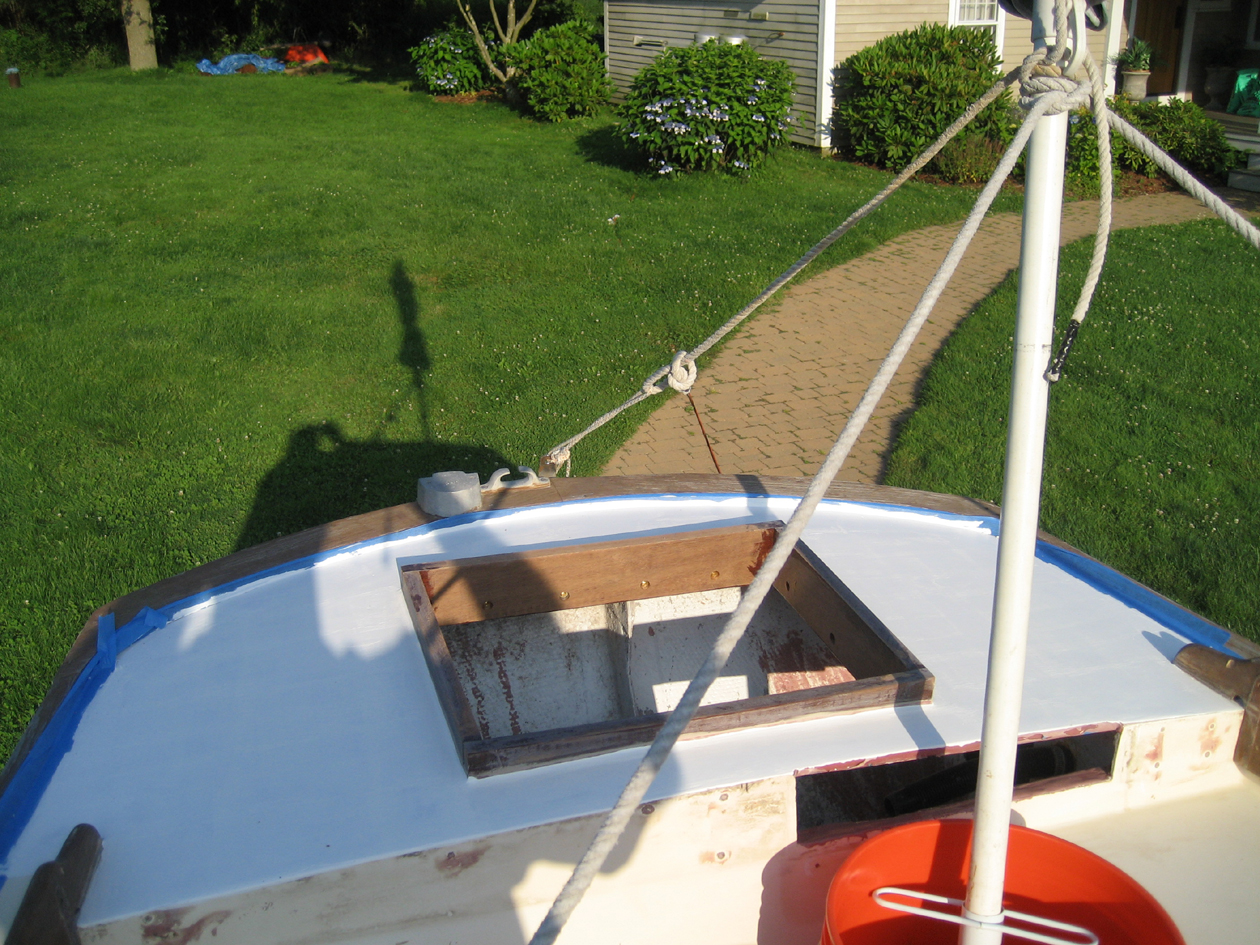
Here is the new deck with two coats of Interlux brightside primer. I brushed this on in opposing directions with cheapie 2″ foam brushes. I had to setup a beach umbrella in the cockpit to provide some shade as the paint primer was drying right on the brush it was so hot out!
I only took two pictures of the hatch construction, as at this point I was really in a hurry to get the project done and get the boat in the water. I ripped some mahogany stock down so as to have hatch sides, and a “cleat” to fasten inside the hatch frame, to which the hatch top is fastened. The hatch top is inset. These photos show the hatch top epoxied to the frame. The frame was built by screwing and epoxying together. The top received a layer of 6 oz glass cloth, and was then sanded, faired, sanded, primed and painted. I left the sides “natural.” They were coated in several coats of Interlux sealer.
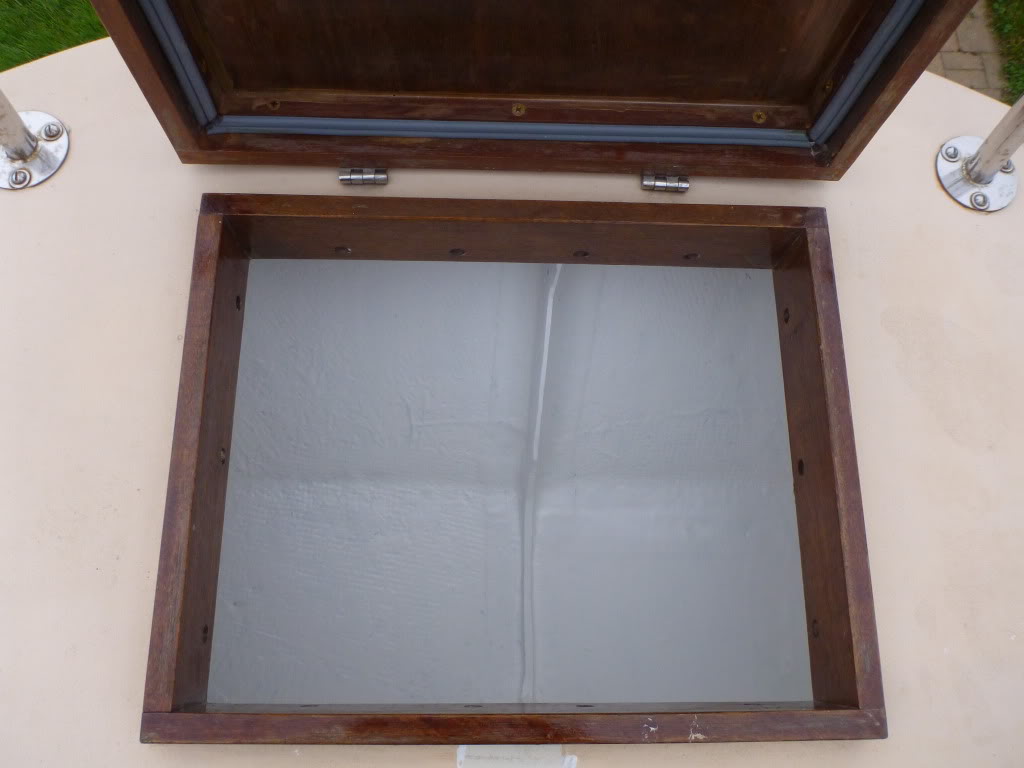
Updates to the project included cleaning and painting the locker area (2011):
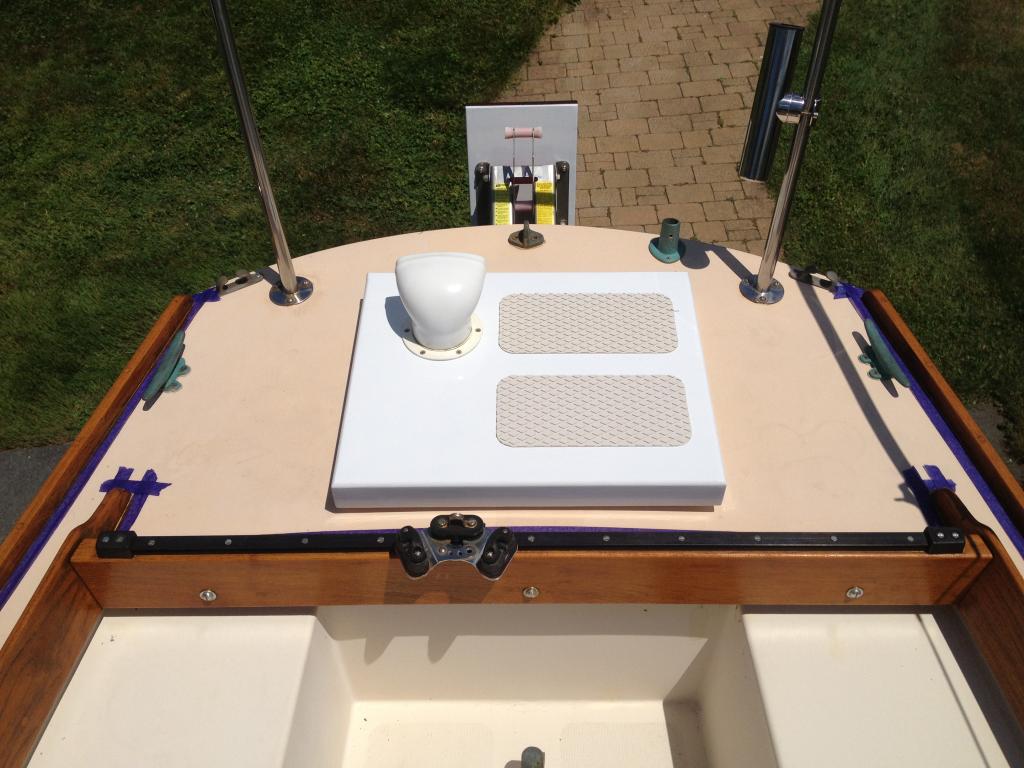
And an updated finish to the hatch (2014), along with a small dorade vent for ventilation as well as access for the gas line and cable lock for the outboard motor. (It’s also obvious that this photo and the previous photo post date the deck project, so the many upgrades from that project are visible as compared to the earlier project photos):
I can report that after six (6) sailing seasons this repair is solid and dry. I am very pleased with the results both aesthetically and functionally.
Wishing you happy sailing!
-Dejan
Strongly considering buying a 1981 23 Sea Sprite, concern is there any balsa core in it?? What year was your boat manufactured? Did you eventually hang the outboard off the stern?